Excel for text-to-speech conversion
14-09-2025 , 14-09-2025
Microsoft Excel has macros, which means you can write VBA code to send requests to a server. Thanks to this capability and the Speechgen API, you can synthesize speech directly from Excel cells. Here’s a template with macros for download, and below is an explanation of how it works.
Macro Preparation and Setup
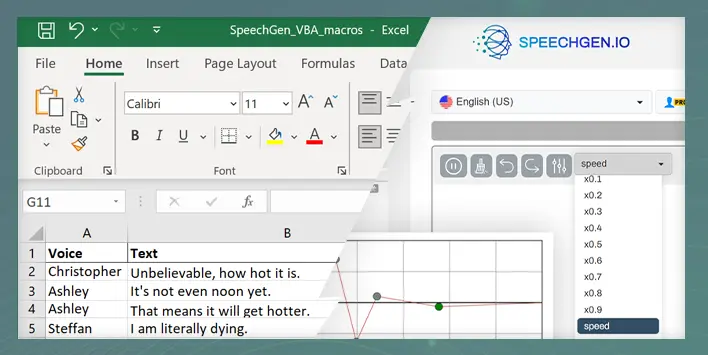
This is what the main sheet looks like:
Step 1: Voice Installation
To get started, you need to select and set up the voice that will be used for text-to-speech. In this example, the voice "Boris" is used. To do this:
- Go to the "Voices" section.
- Select the desired voice and insert its name into the corresponding field.
This tab lists all the voices available on Speechgen. You can copy the desired one and paste it into the speech synthesis.
Step 2: Entering Text and File Name
Insert the text to be synthesized into the "Text" field.
In the "File Name" field, you can specify the name of the file that will be created after synthesis. By default, the file name includes an identifier, date, and time.
Step 3: Setting the File Path
Here you can specify the directory on your disk for saving files. By default, files are saved in the same directory as the script.
Step 4: Connecting to the API
To connect to the service, you need to provide the API key and email, which can be found in your Speechgen profile:
- Copy the email and key from your profile.
- Paste them into the corresponding fields in the macro.
Running and Executing the Macro
Step 1: Running the Macro
To run the macro:
Go to the "View" section and select "Macros".
Find the "Speechgen API" macro and click "Run".
Step 2: Synthesis Process
The system determines the number of lines to be synthesized and shows the progress status:
- If the text is up to 1000 characters, synthesis is performed immediately.
- If the text exceeds 1000 characters, a request is sent to the server, and then a follow-up request is made every minute to check the result. Once the result is obtained, you will see 100% in the "process" column.
Step 3: Checking the Result
After the process is complete, the status will change to "Successful" and a link to the file will appear. You can click the link to open the file. The file can also be found in the file folder or the folder specified in column G "File Path".