Create a Two-Voice Dialog in SpeechGen
07-09-2025 , 25-04-2026
Build a dialog where different lines are read by different voices — all in one synthesis. Here we demonstrate with two voices; you can add as many as your scene needs.
Add a second voice
Click the + icon on the right side of the voice row. A new speaker appears below — initially a clone of the first voice.

Repeat to add a 3rd, 4th, and more voices if your scene has multiple characters.
Open the voice picker for the new speaker
Click the voice name on the second row to pick a different voice. The picker opens and is scoped to this speaker only — your first voice stays as-is.

Filter and pick the voice
① Tap a gender filter (Male, Female, Children, Elderly, Neutral) to narrow the list, then search by name if needed. ② Click SELECT next to the voice you want — the picker closes and the row updates.

For a dialog contrast, pick a different gender than your first speaker.
Type your dialog
Write each line of the conversation on its own line in the editor. The first voice in the list reads everything by default.

Select a line and wrap it with the second voice
Highlight the phrase you want the second speaker to read (in our example — the second line). Then click the wrap icon (< >) on the second speaker's row — this assigns that line to their voice.

Each speaker has their own wrap button. Click the one on the row of the voice you want the selected text to be read by.
SpeechGen adds a dialog tag around your selection
The selected text is now wrapped in a <dialog> tag that binds it to that voice. The engine treats each tagged block as a separate speaker turn.

You can add more <dialog> tags for longer scripts — a 3-, 4- or 5-character conversation works the same way.
Convert to Speech — one synthesis, many voices
Press the blue Convert to Speech button. The engine renders all voices sequentially into a single audio file. The result appears below and auto-plays.

The result
Listen to the dialog that comes out:
Amber + Andrew dialog
Dialogue Constructor
If your dialogue is long or you want to generate it through the API, build the <dialog>-tagged text with a ready-made Google Sheets template.
-
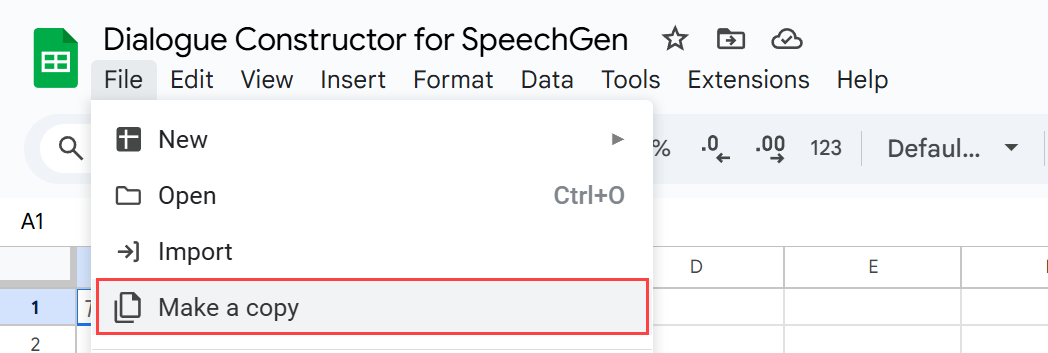
Copy the template.
Open the template and save a copy to your Google Drive: File → Make a copy.
-
Fill in the "Dialogue Constructor" tab.
- Column A (Voice) — voice name, speed and tone.
- Column B (Your Text) — the dialogue line for that voice.
- Column C (Code for SpeechGen) — auto-generated
<dialog>-wrapped code for each row.
-
Voice name must match exactly.
The voice name in Column A has to be identical to what SpeechGen lists. Open the all_voices tab in the same sheet — voices are grouped by language. Copy the name from there into Column A.
-
Example
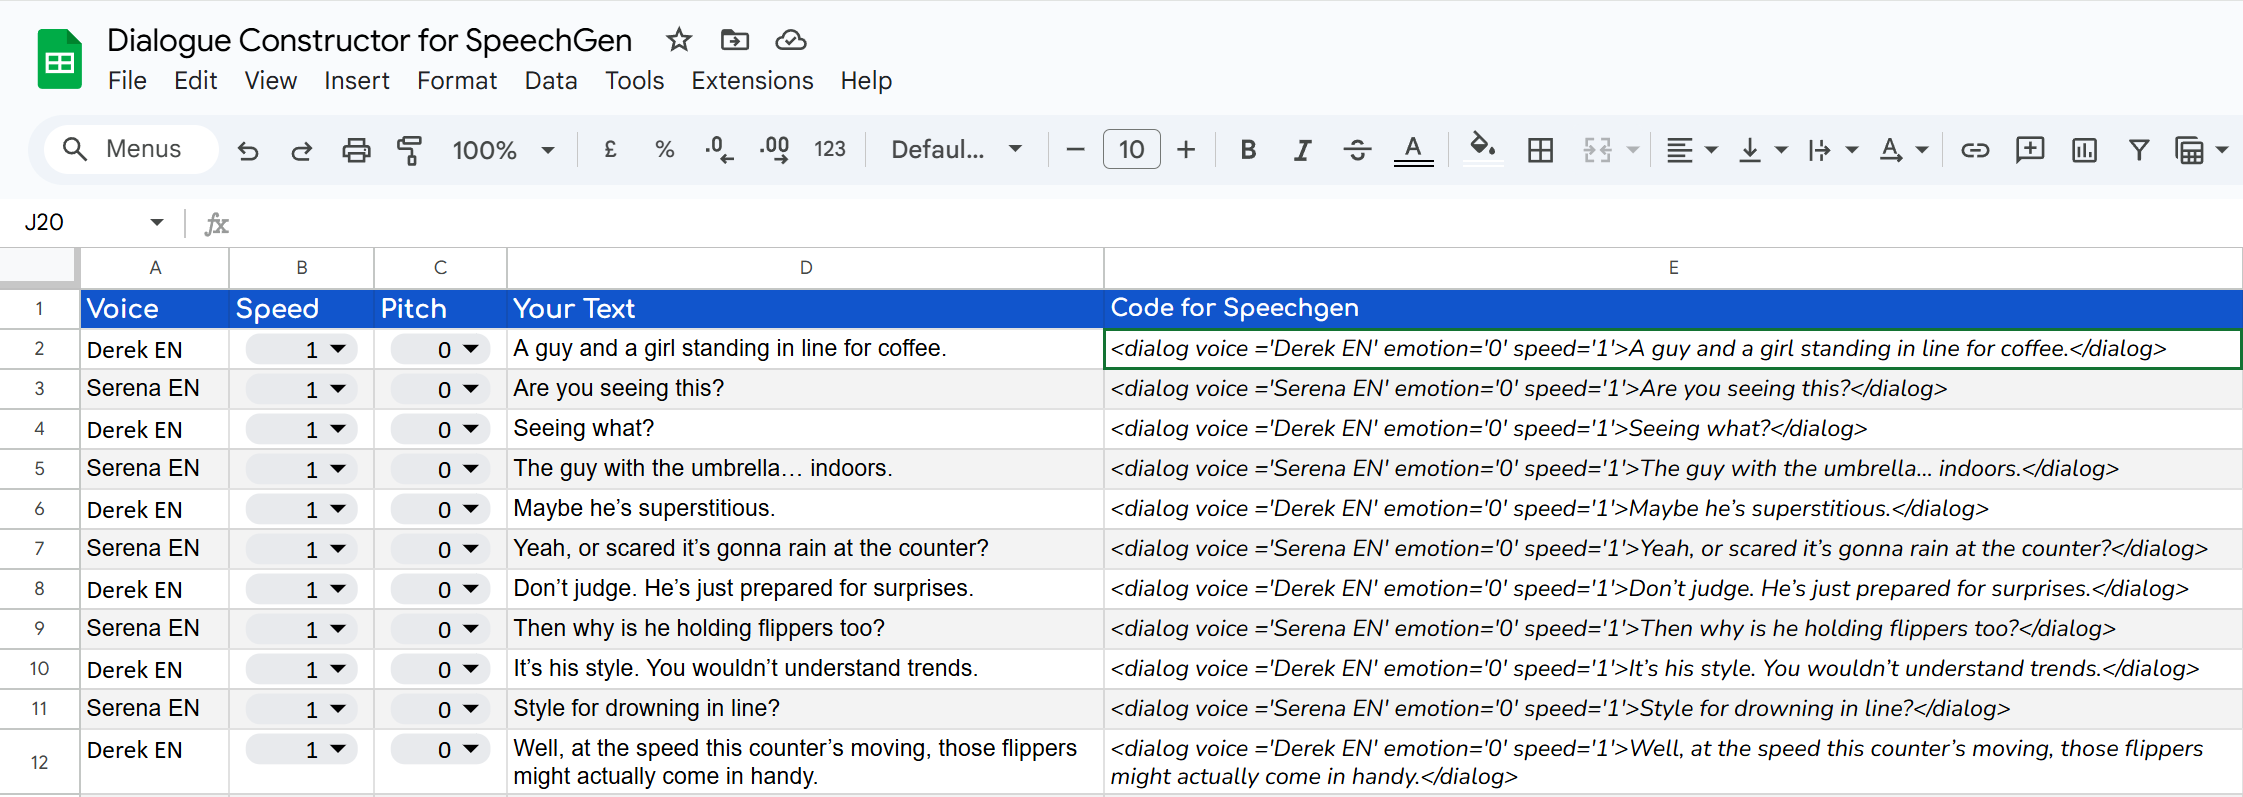
- Row 2 — voice Derek EN in Column A (default speed + tone left blank), the first phrase of the dialogue in Column B.
- Row 3 — voice Serena EN, her line of the dialogue.
Continue row by row. Column C will automatically wrap every phrase in the correct
<dialog>tag. -
Paste the generated code into SpeechGen
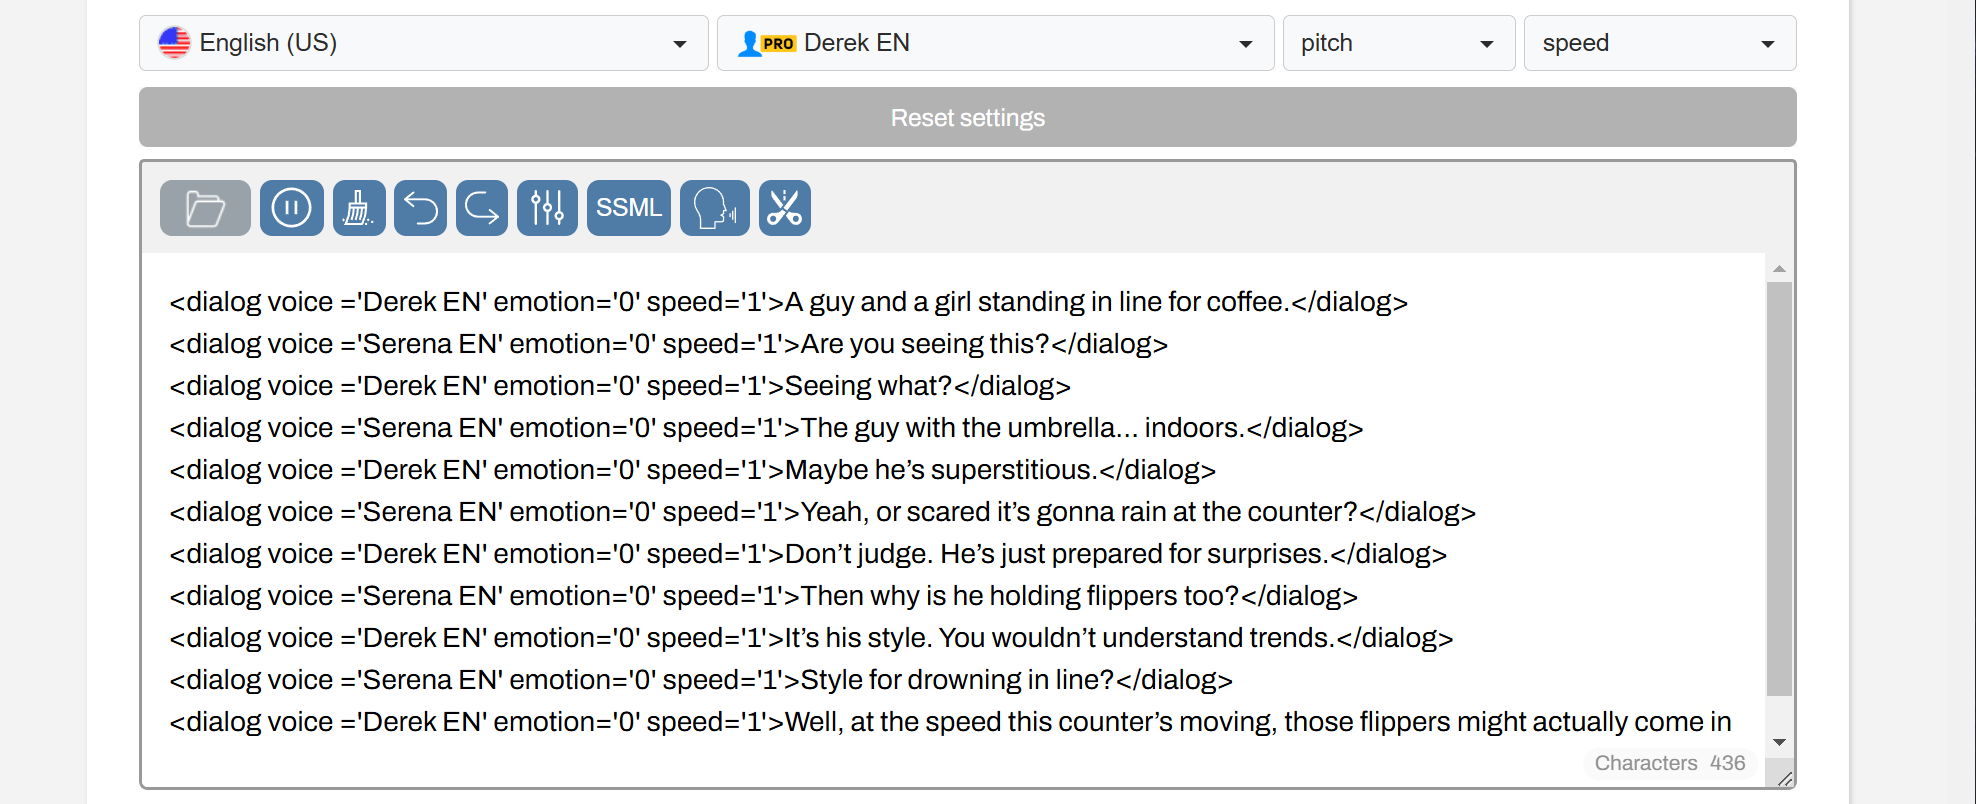
- Select every non-empty cell in Column C, copy with Ctrl+C.
- Go to SpeechGen, paste into the text field. It will look like this:
-
Convert to Speech
- Press Convert to Speech.
- The whole dialogue is rendered into one file — download and use.
<dialog> tags for richer scenes.