Speechgen WordPress Plugin: Convert Posts to Audio Easily
05-09-2025 , 05-09-2025
We have developed our own plugin for voicing articles on websites running on the WordPress CMS. Now you can directly launch voiceovers on the website, and the audio player will be automatically embedded into the site. Increase user time on the site and add variety to your content with the audio version of the article, just like major publications such as The New York Times, The Washington Post, and The Wall Street Journal do.
Download the WP plugin for voicing articles v1.0.7
Requirements
- Minimum WP version: 5.5,
- Minimum PHP version: 6.1;
At the moment, the plugin can only be installed from an archive; it is not yet available in the WordPress repository. It is distributed for free, but you need tokens from Speechgen to voice articles.
Video instruction
Installation
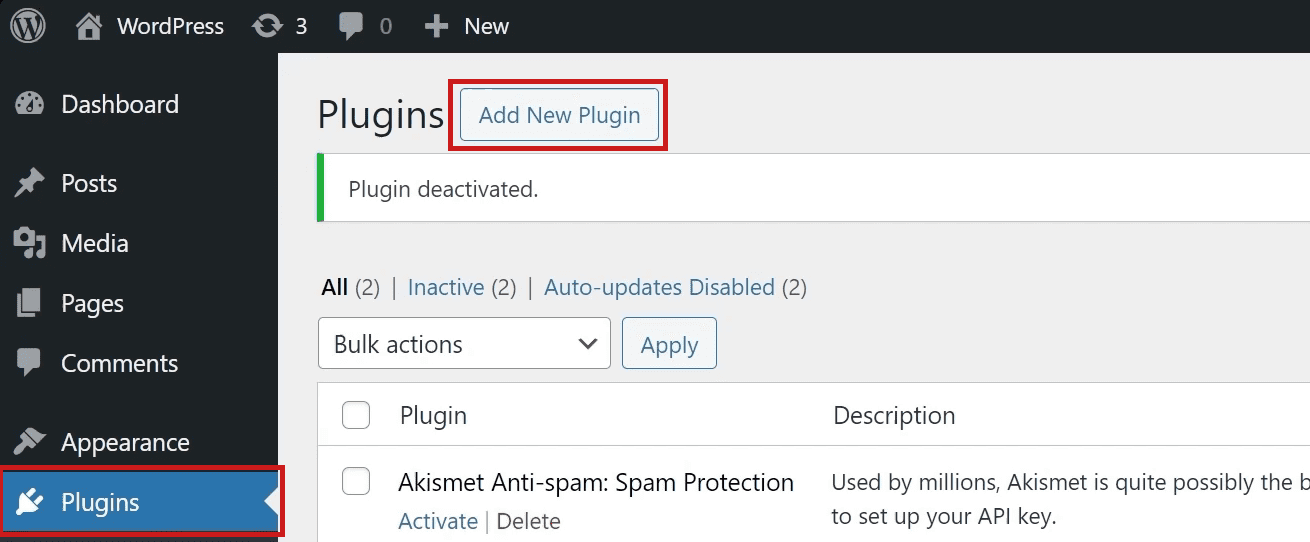
Download the plugin using the link above, then go to the plugins section in WordPress and click "Add New Plugin".
Click on "Upload Plugin".

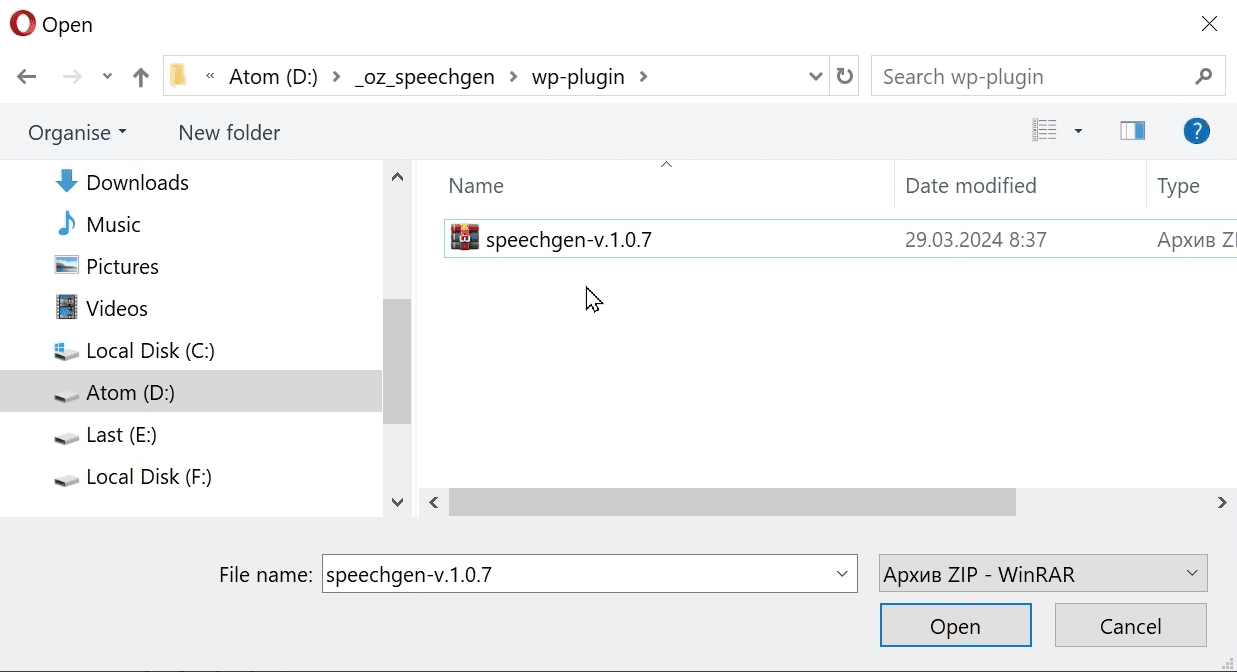
Click on "Choose File".

Select the plugin file that you downloaded.
Now click on "Install Now".

Activate the plugin.

Settings
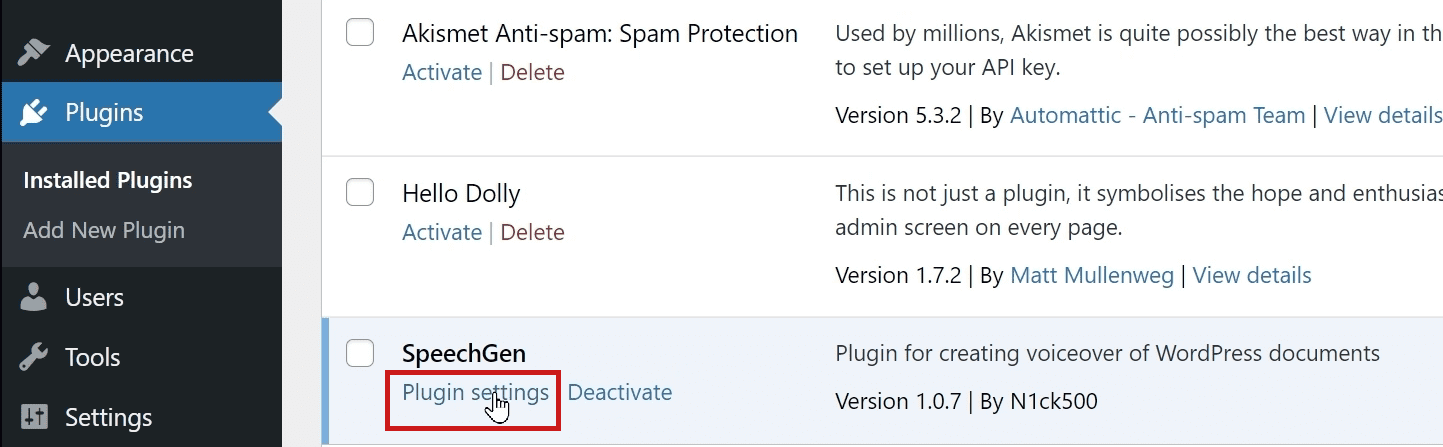
After activation, go to the settings.
API Server Connection Settings
In this settings block, you need to specify your API token and email to connect with the Speechgen server.
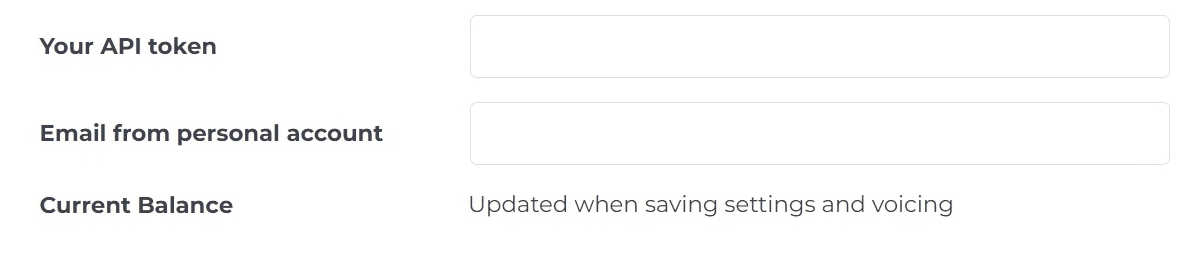
To obtain the API key, go to your profile and click on the "eye" icon to display your key.
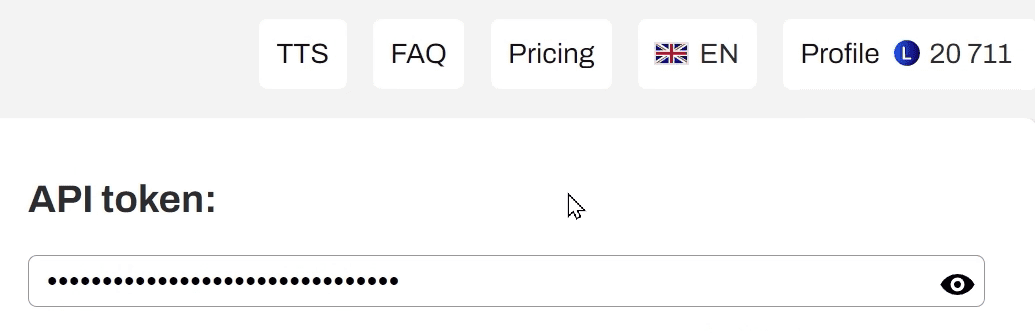
Paste your key and email, and click on the save button at the very bottom of the settings. That's basically it - everything is set up, and without any additional actions, you can already voice articles.
Default audio configuration
In this block, set the language and voice you want to use for voicing articles. You can listen to free demo recordings of each voice on this page: https://speechgen.io/en/voices/#en-US
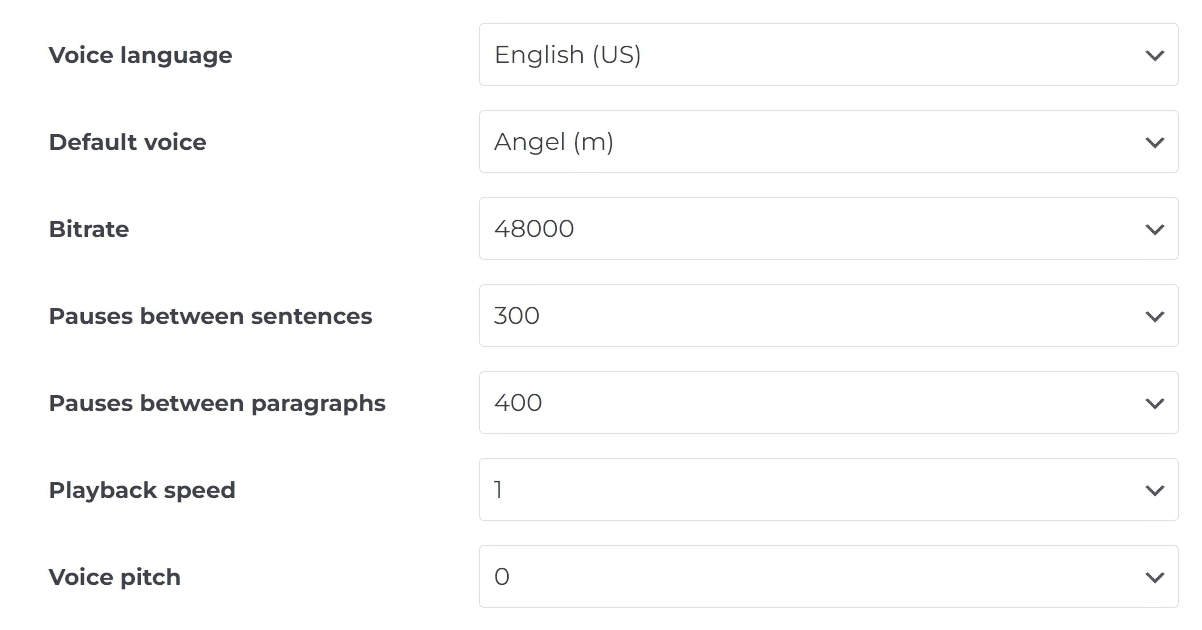
Here you can also set the speed and tone of the voice. Between sentences and pauses, you can set the desired pause length. You can find more details about this here: https://speechgen.io/en/node/custom-pausa/
Default voiceover sections
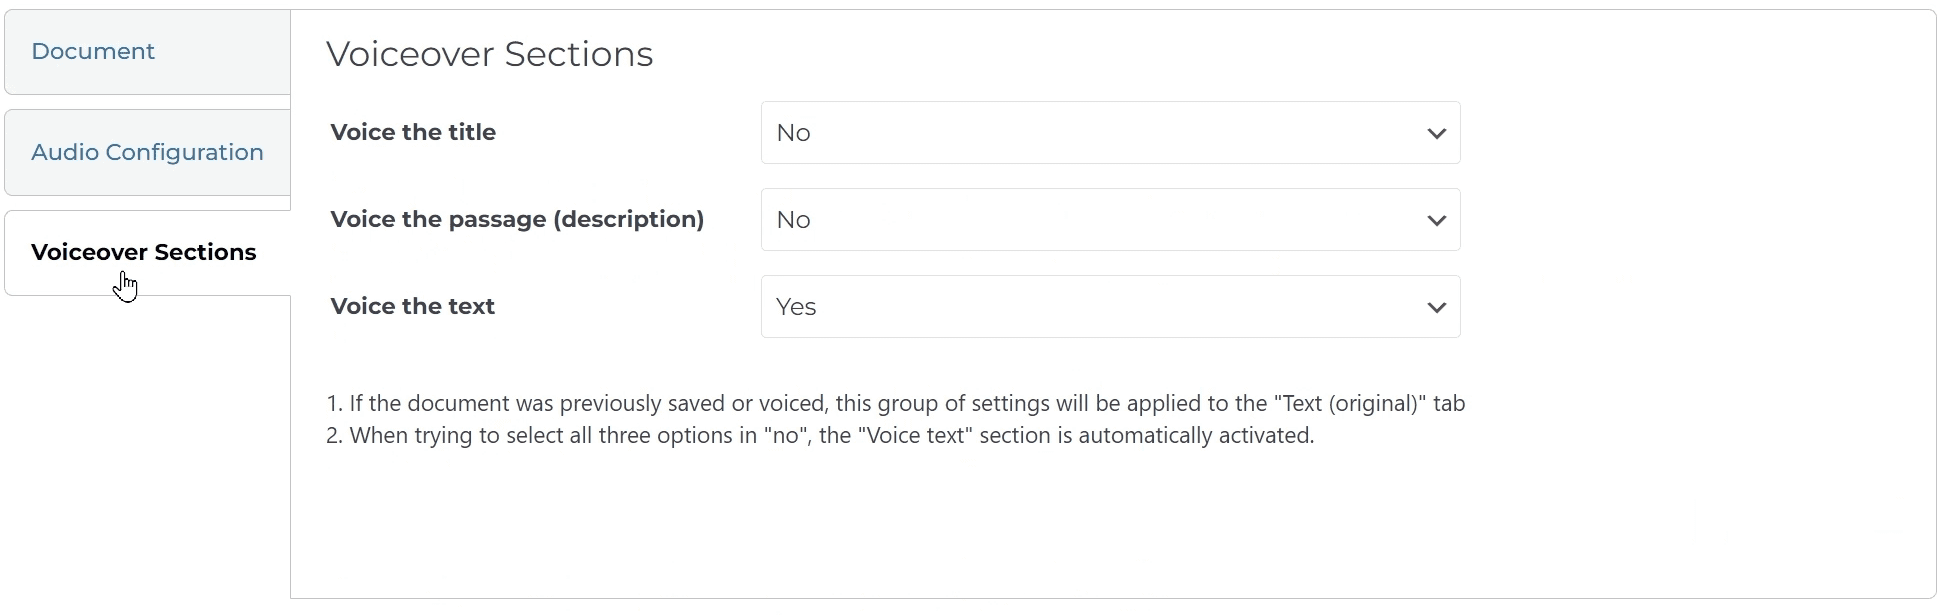
In this block, you can specify whether you want to voice the title, excerpt, and the main text of the article.
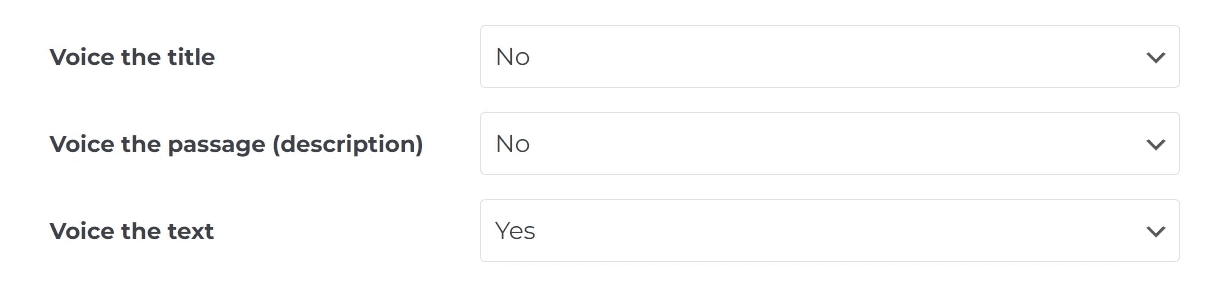
These settings will be the default for all articles. You will have the ability to make individual settings for a group of articles or even for a specific one; more on that will be covered below.
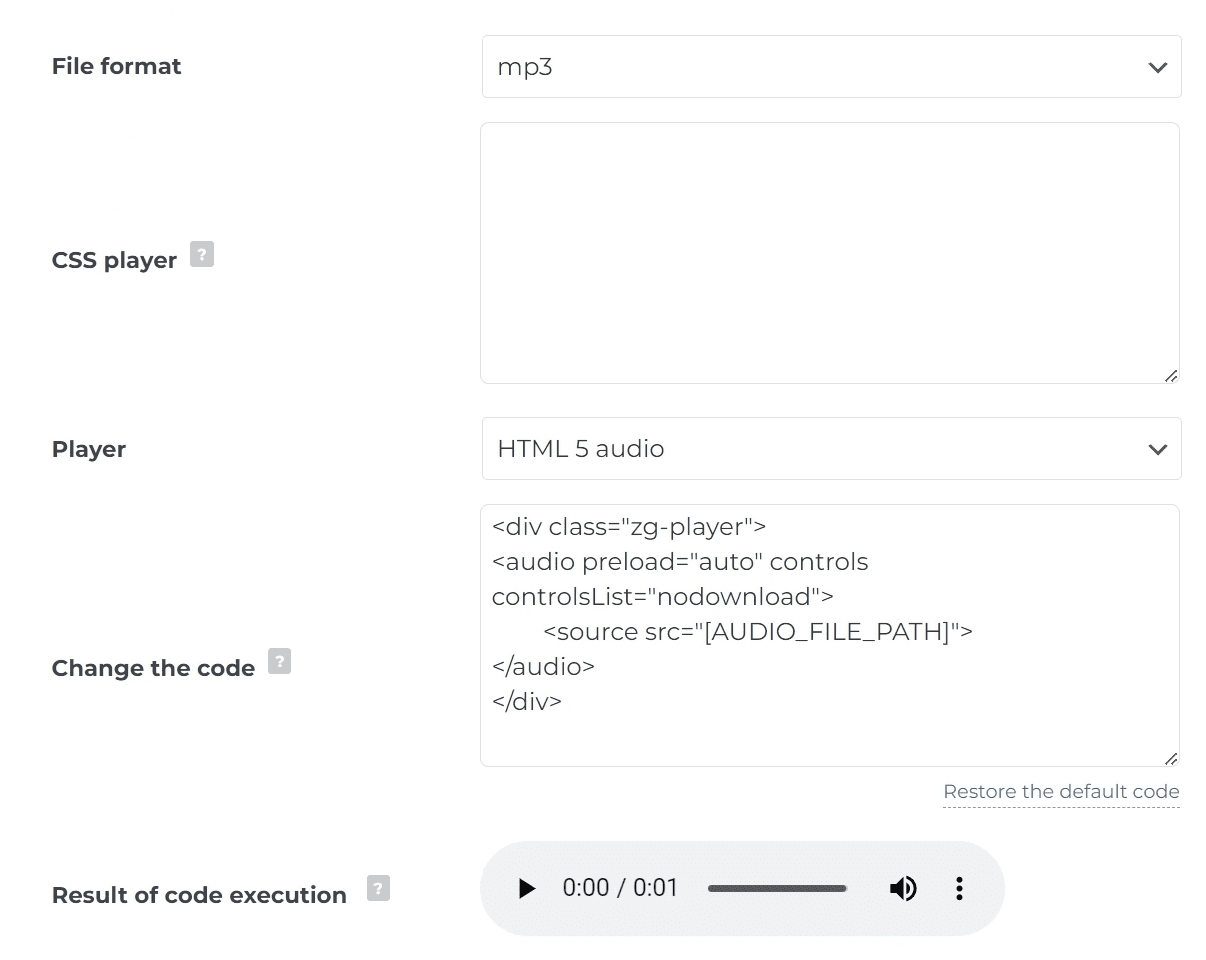
Player Code Settings
There are 2 player options in total: the standard one from WordPress and the HTML5 player. You can add your own CSS for the HTML5 player. Also, instead of the HTML5 code, you can insert the code of any player of your choice, as long as it includes the shortcode [AUDIO_FILE_PATH], which outputs the path to the audio file on your server.
Display Settings
In this block, you can specify the number of documents displayed in the plugin list. These are visual settings. If you have many articles and want to synthesize speech for texts from a large number of blog posts, set the desired quantity here.

Click the blue save button.
Voicing Articles
There are three ways to convert an article or page into audio: from the list of articles in the plugin, while editing an article, and through mass voicing.
Voicing while editing an article
Go to the list of posts. Click on an article to start editing it.
On the right in the sidebar, click on the "Go to Voiceover" button.

This method is well-suited for those who have just created a new article and need to voice it immediately.
Converting text to audio on the plugin page
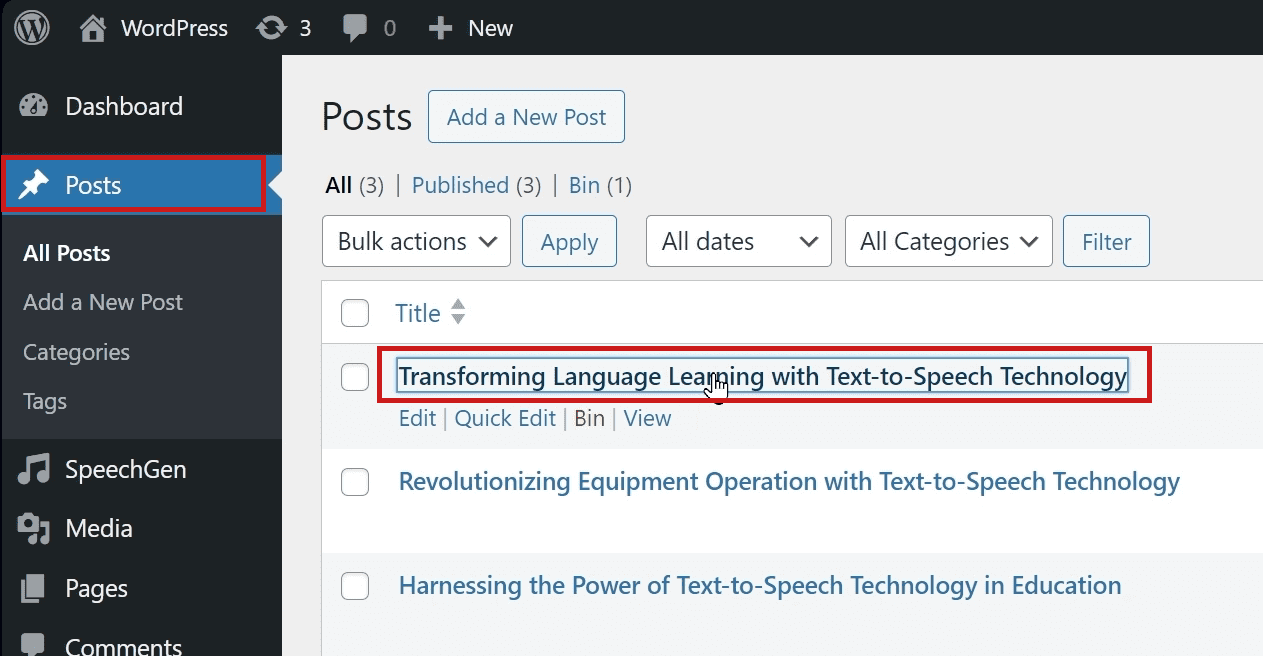
Go to the plugin page by clicking on it in the left menu of WordPress. Hover your mouse over the article title and then click on "Voice Over".
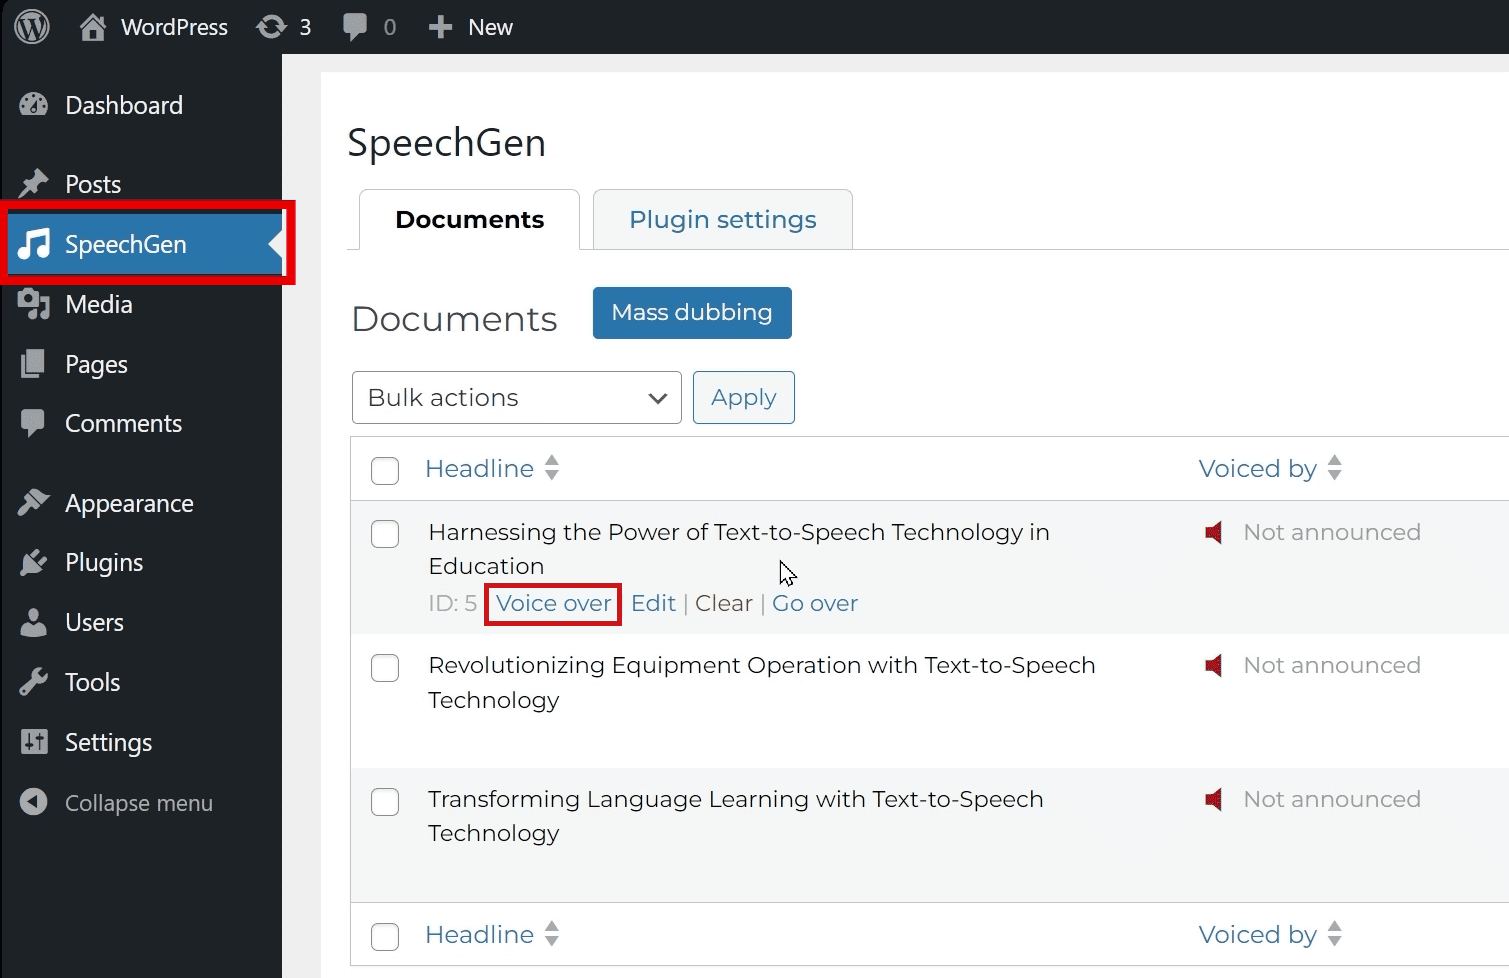
This method is convenient when you have many articles without audio and want to work with them selectively.
Workflow
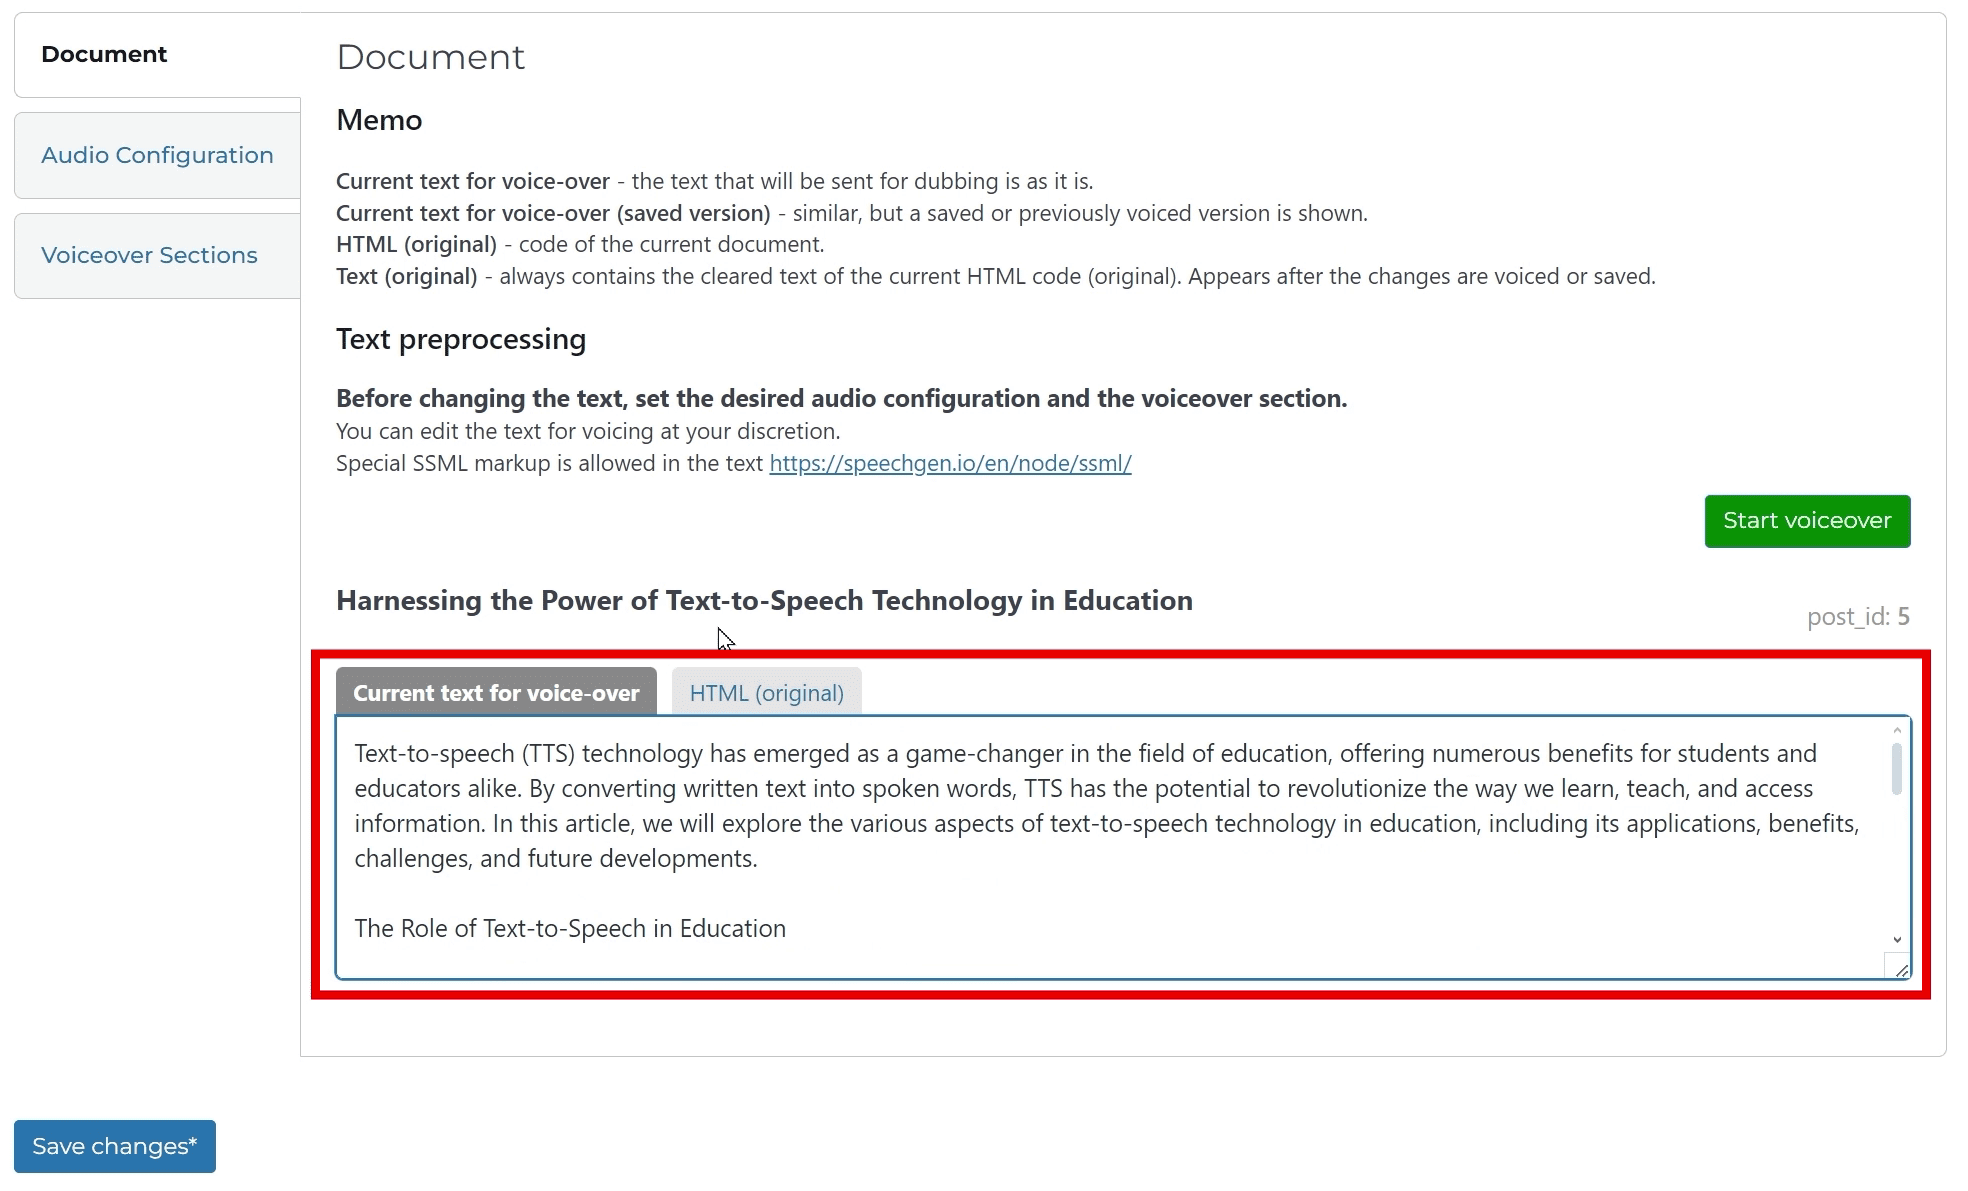
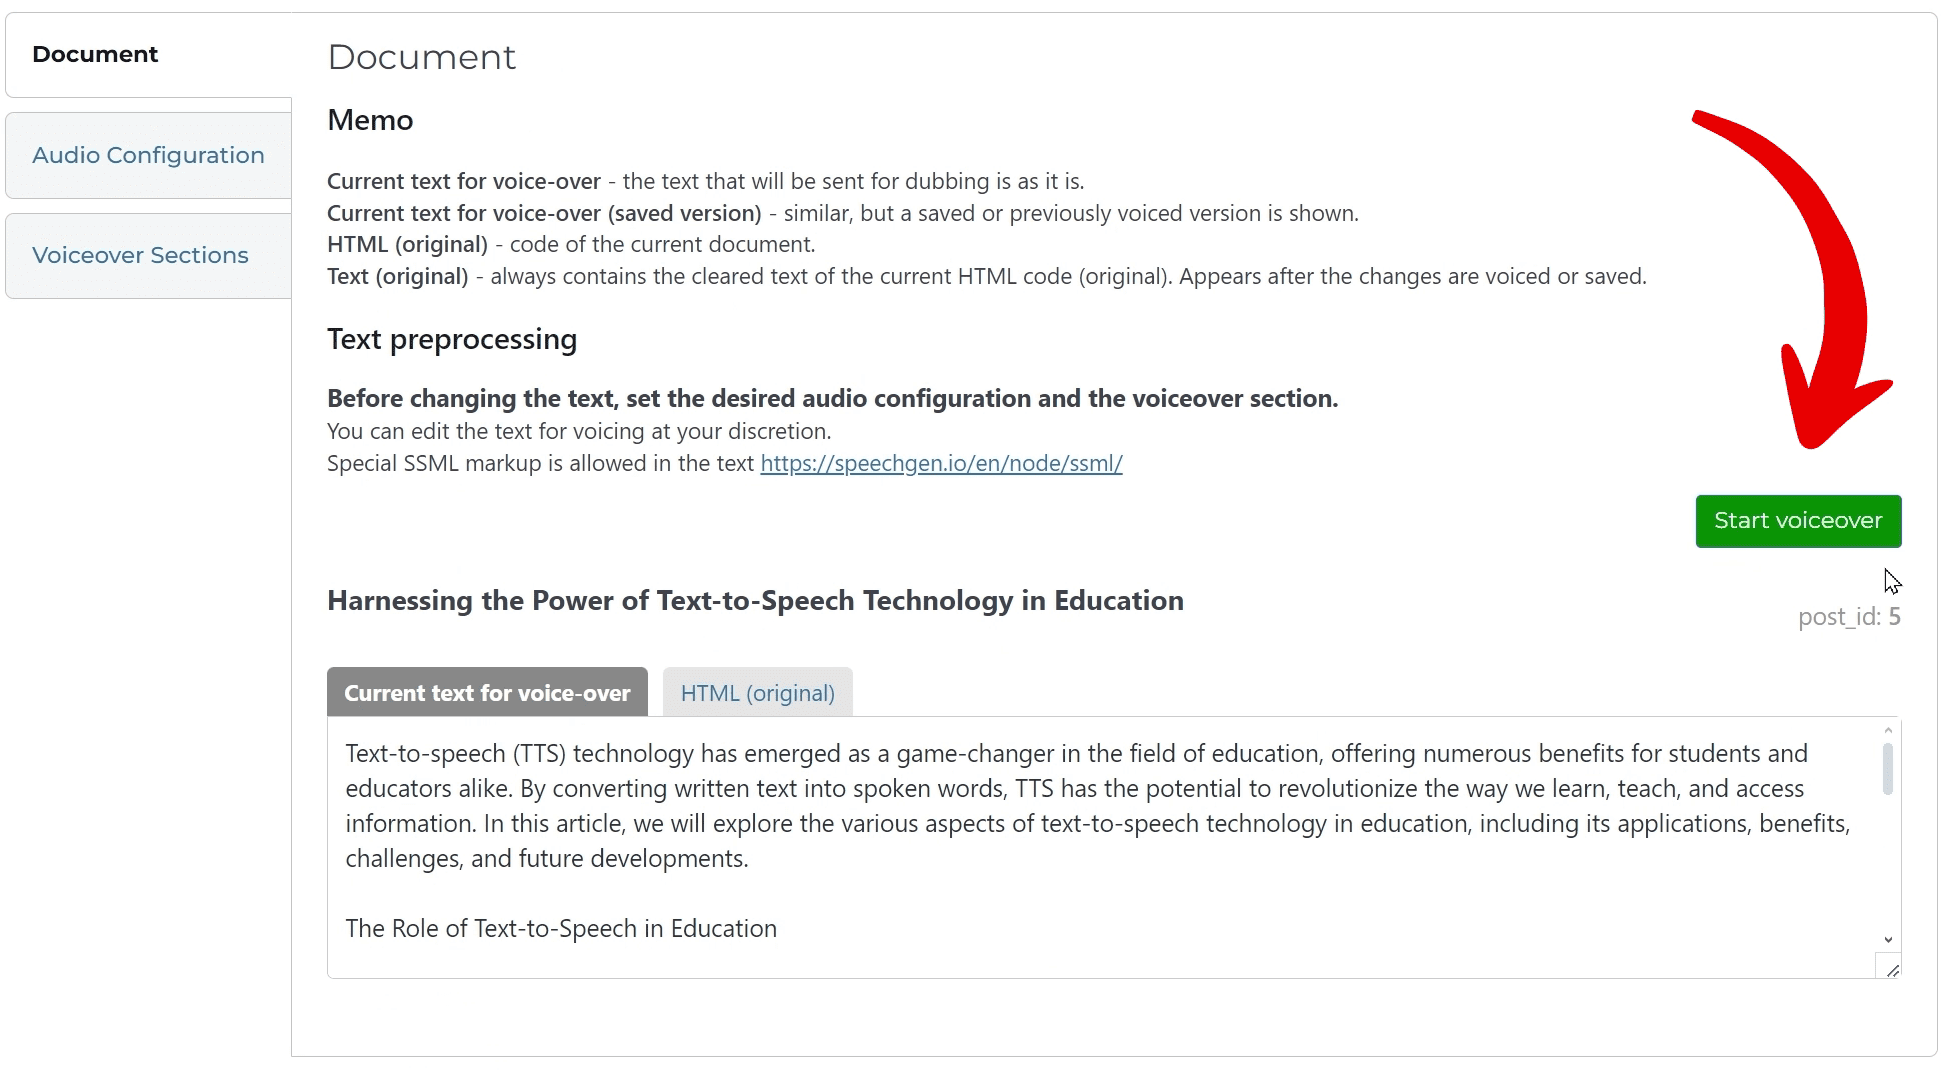
After starting the speech synthesis, you will be taken to a page like this. The system has cleared the page code of links, tables, and images. In the "Current Text" tab, you will find the text of your post that will be voiced. You can review it and make changes if needed. Next to it, for reference, there is a tab with the HTML code of the article.
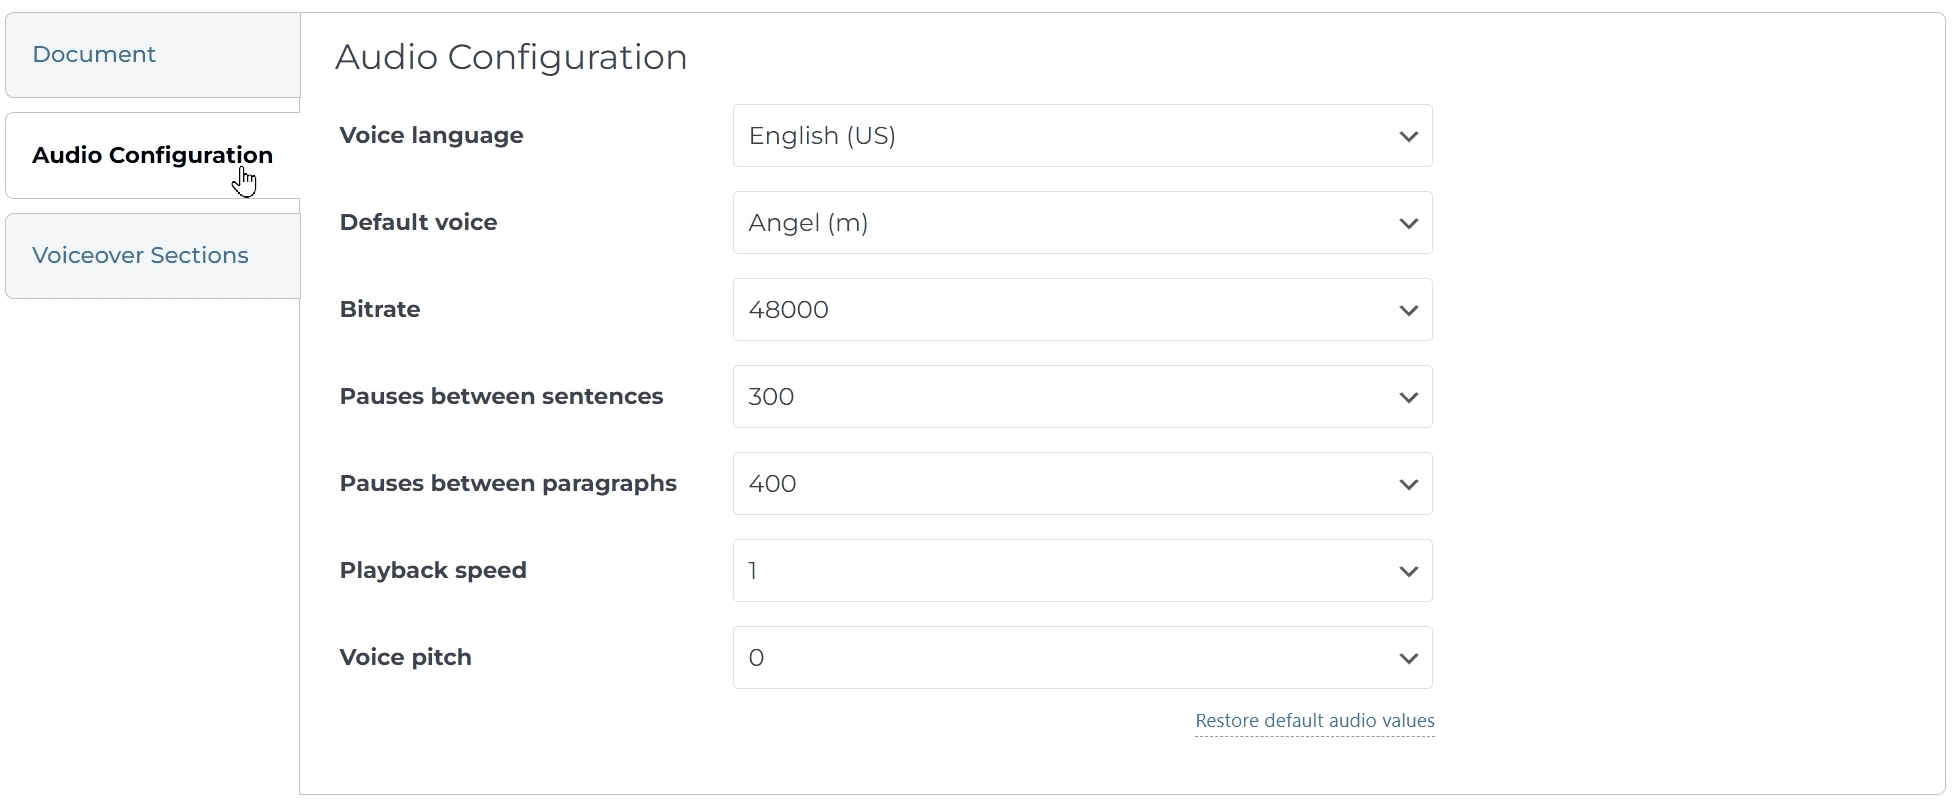
Before starting the process, you can set up the desired voicing sections.
In the configuration, you can change the language, voice, pause size, speed, and pitch, which will differ from the default settings. For example, you can experimentally voice some articles with a male voice and some with a female, child or gender-neutral voice.
To start the speech synthesis process, click the green "Start" button.
After clicking this button, the system sends the text to our server and checks once a minute to see if the audio is ready. Even if you send a very short text, it will still take at least 1 minute to get the result.
Don't close the tab, because if you do, the system will not receive the result. If you accidentally close the tab, don't worry - the limits will not be lost.
Your audio, like all other voiceovers, is stored in Speechgen's memory. When you request voicing for the same article again, the system will take the audio from its memory, and the limits will not be spent again. However, this will work if you keep the same settings and exactly the same text.
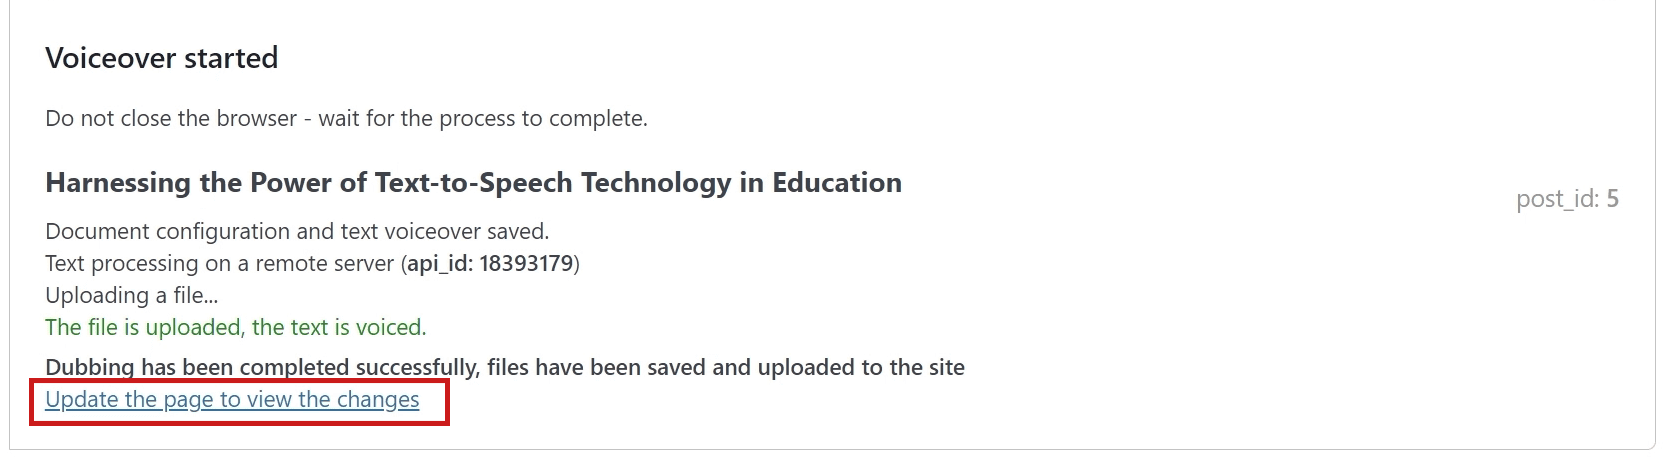
After the process is successfully completed, the line "The file uploaded, the text is voiced" will appear. The audio is ready and embedded in the article, even if you close the tab after that.
If you want to listen to the result, click on "Update".
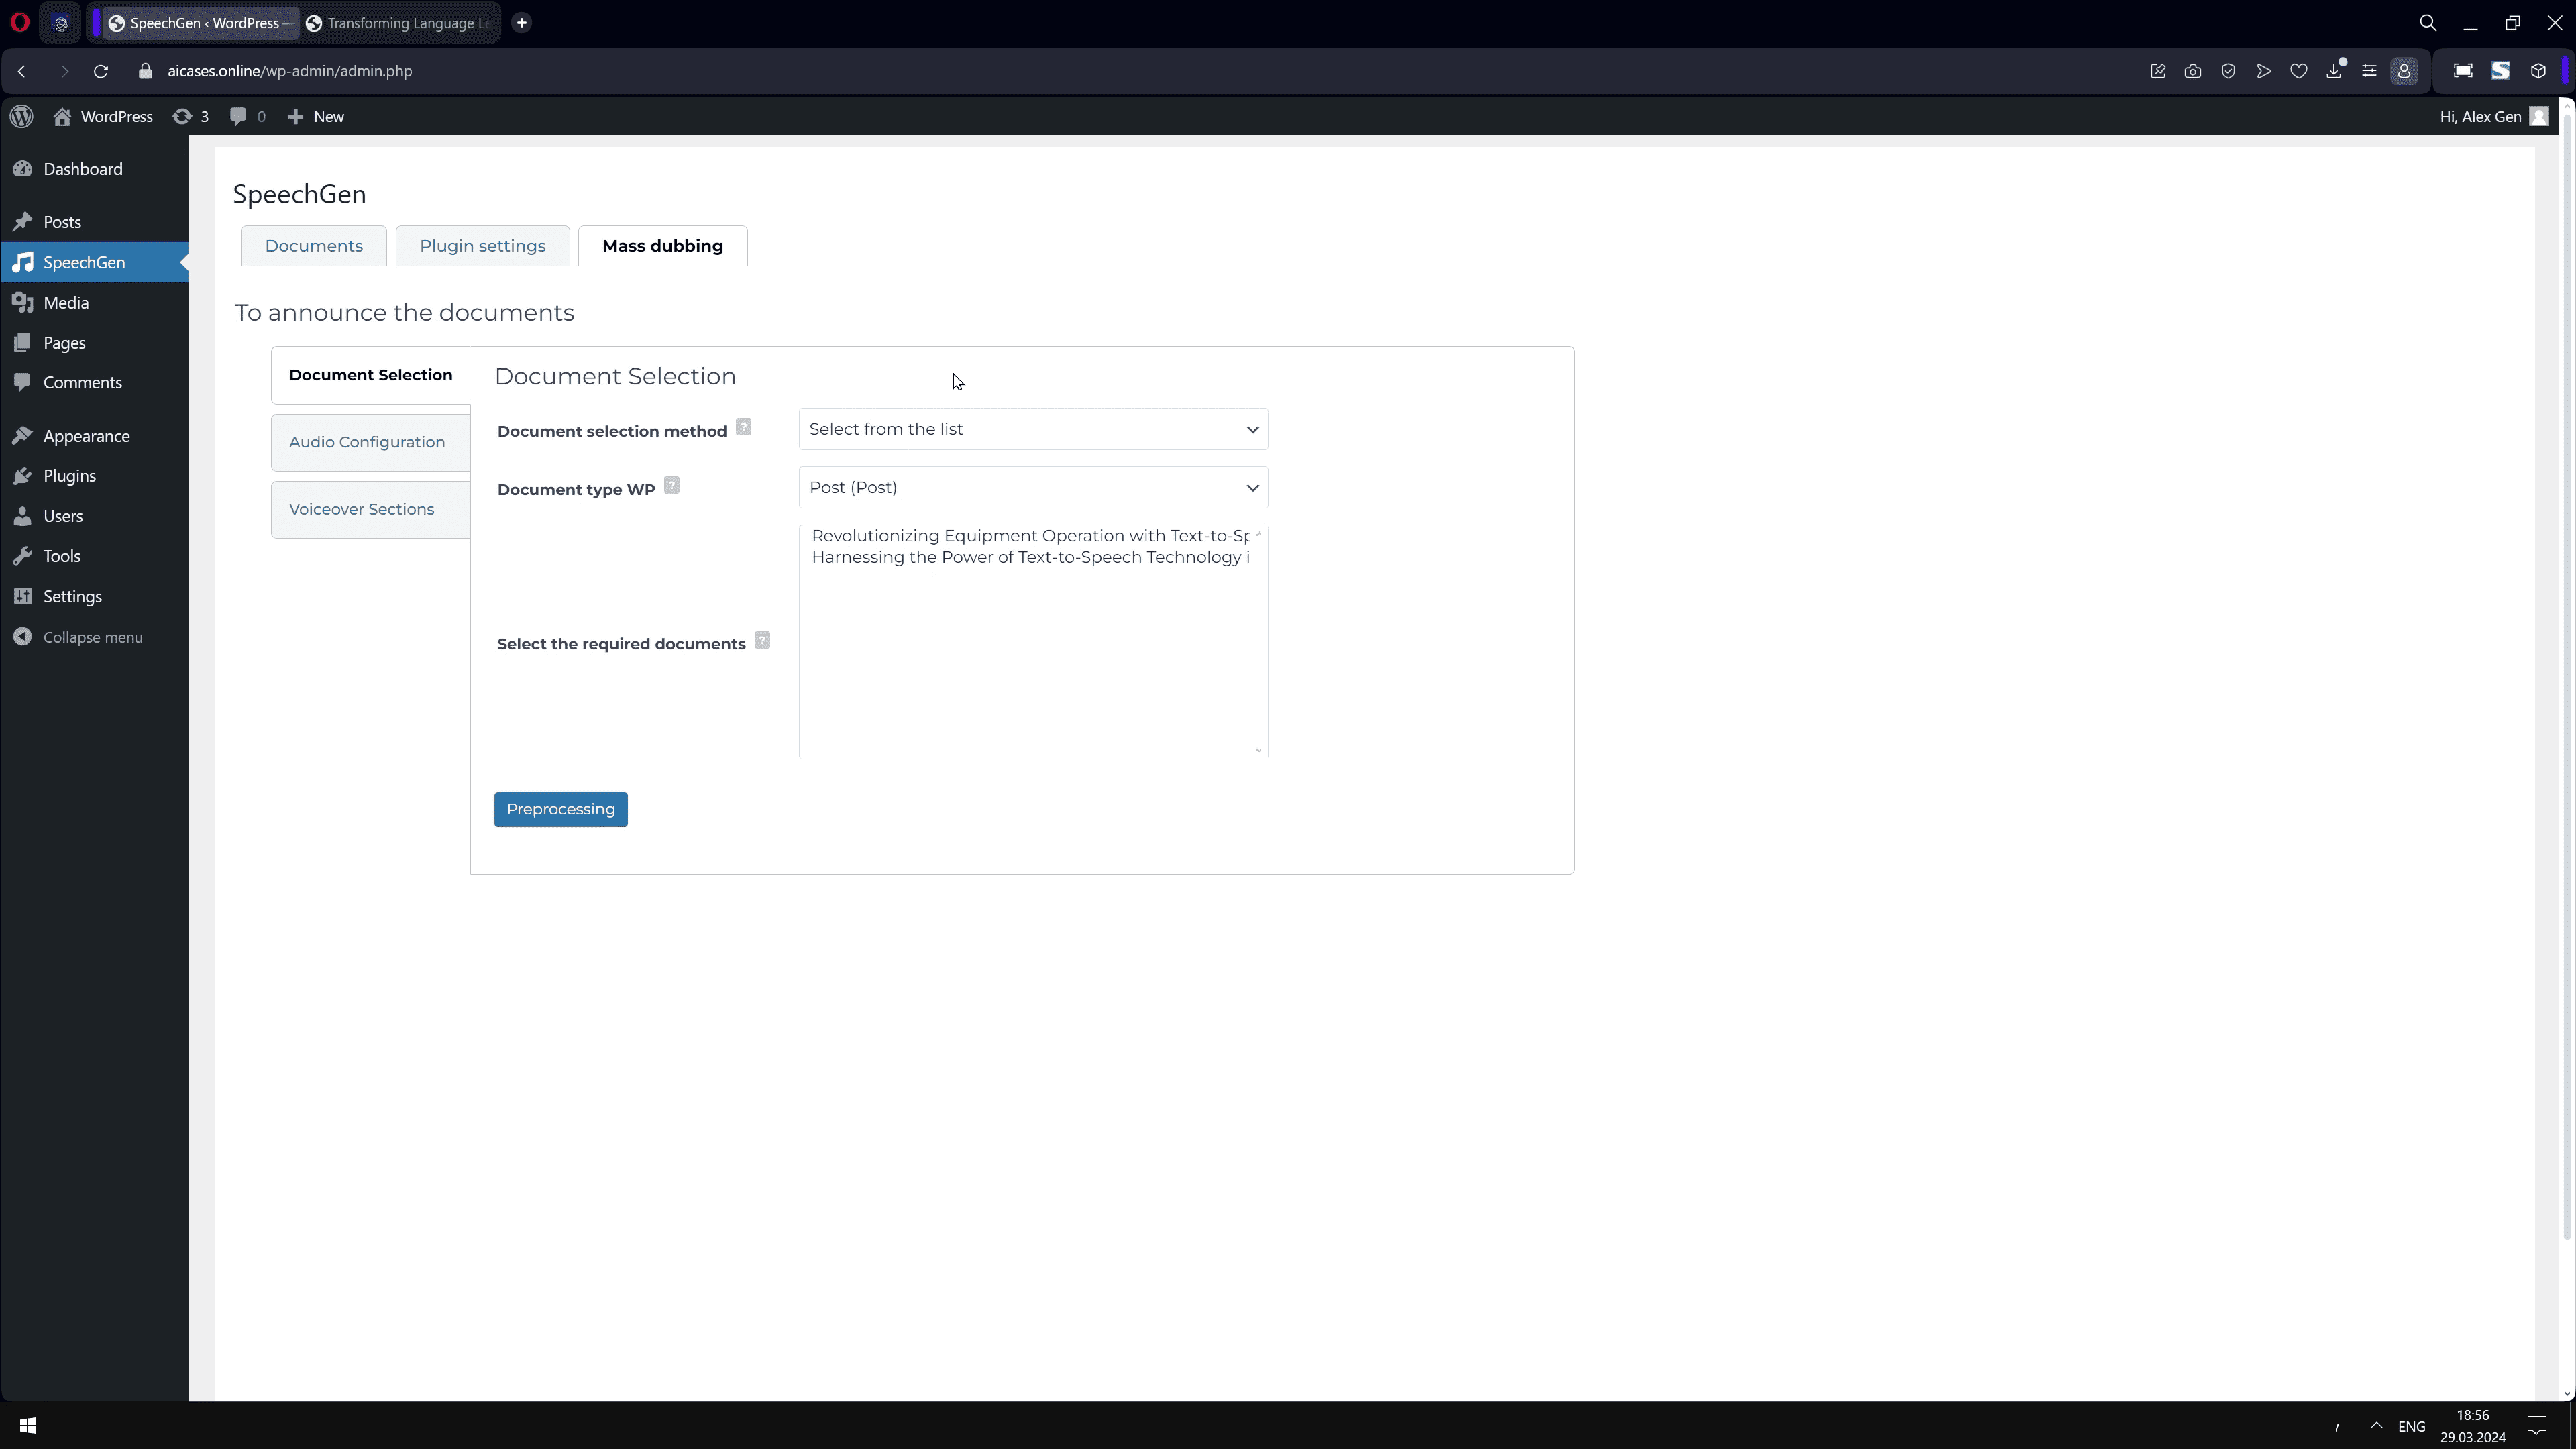
Mass Dubbing
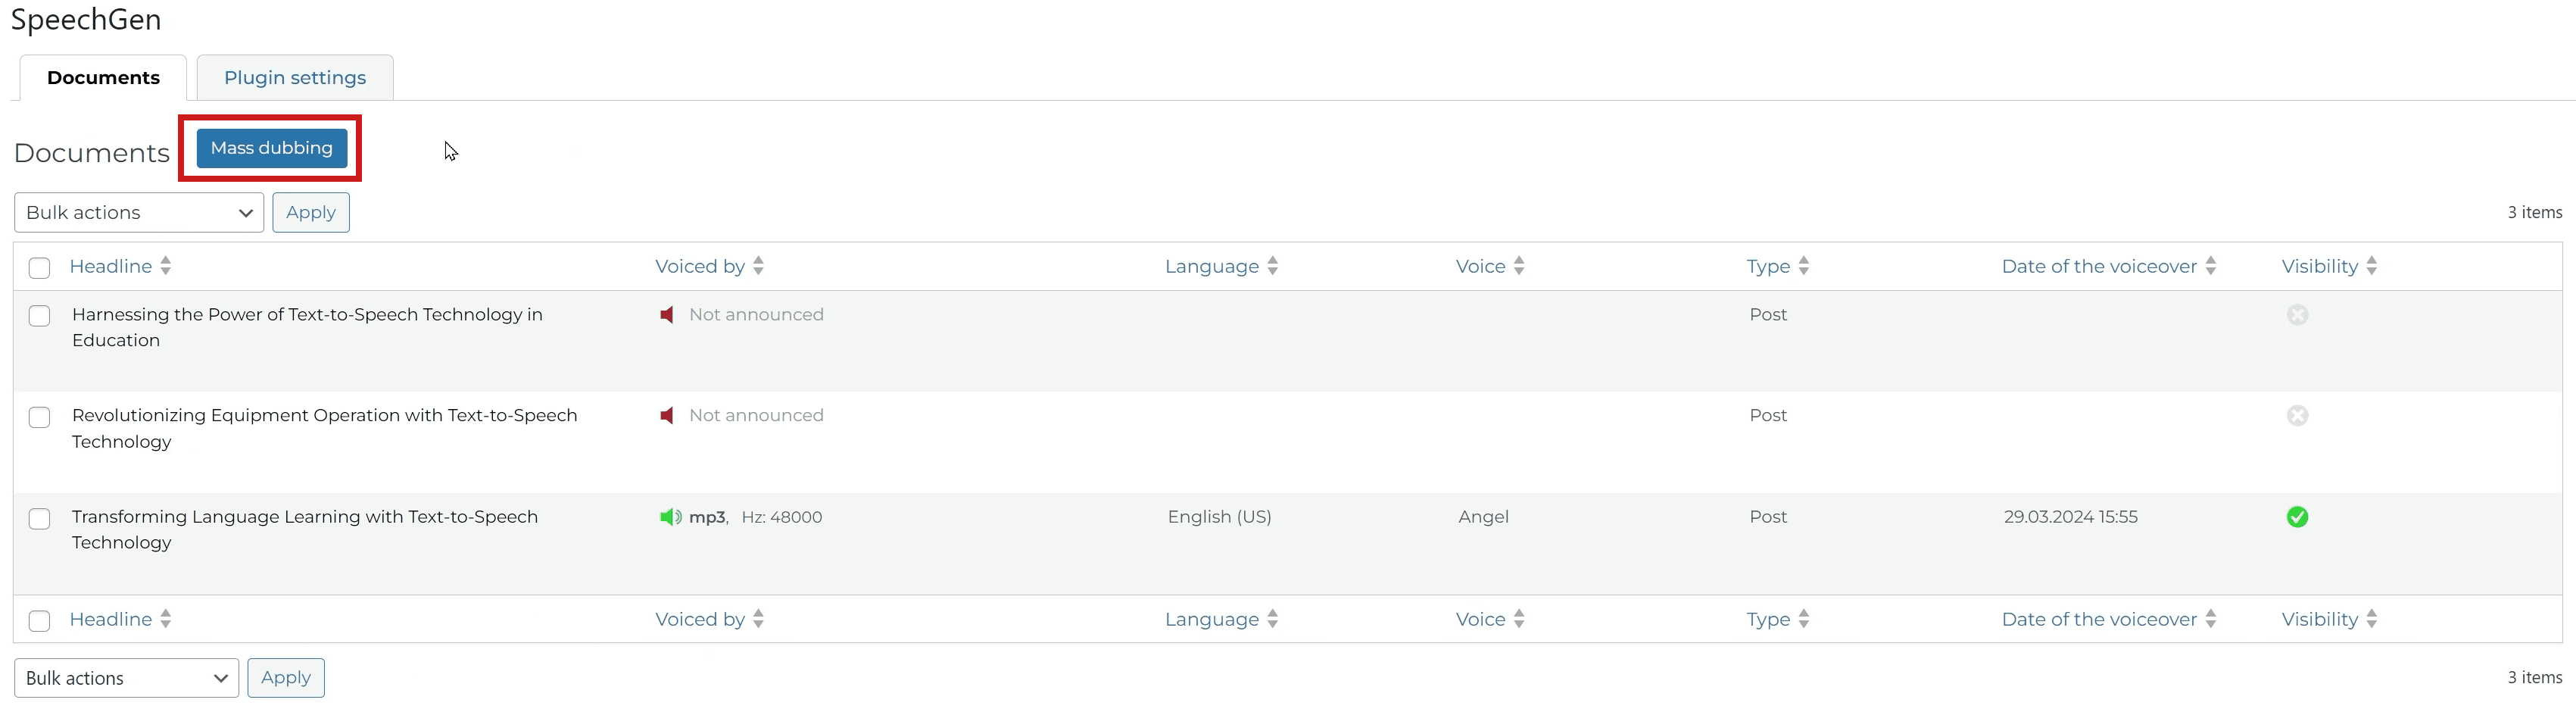
For mass speech synthesis of articles, go to the plugin page and click on "Mass Dubbing".
Before you is the document selection tab. You can switch between posts or pages. For advanced users - you can simply specify a list of post IDs.
Just like in the individual mode, here you have the ability to set the desired audio configuration and adjust the sections for voicing.
You can choose from the list with your mouse (Ctrl+A to select all, Shift+click to select a group).
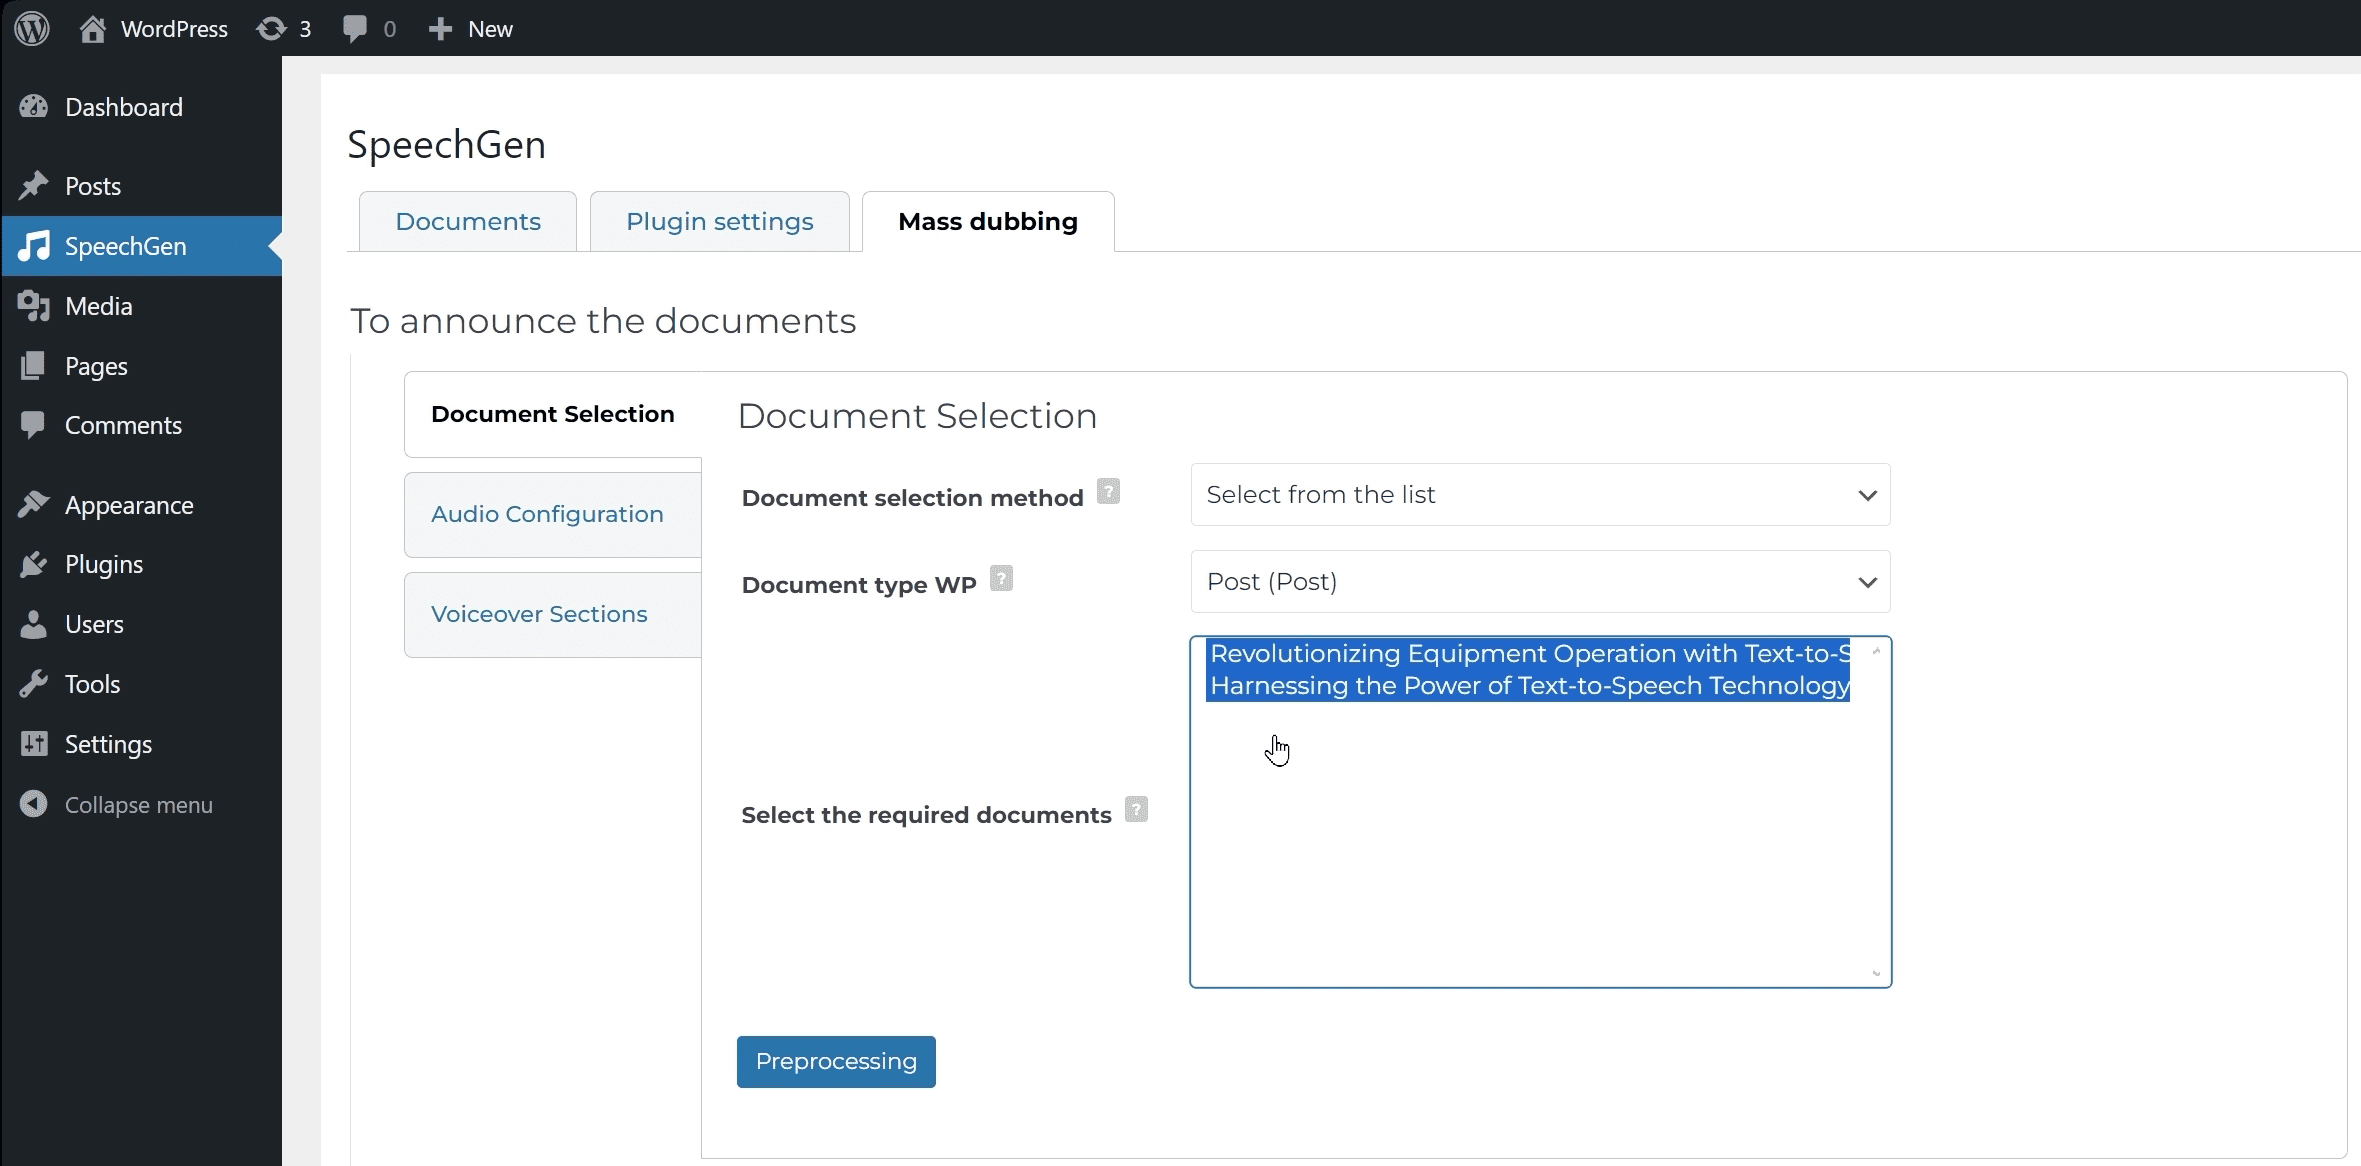
Click the "Preprocessing" button. It will prepare the article texts before voicing. Tables, images, and links will be removed.
After clicking "Preprocessing", a list of entries for speech synthesis will appear. You can review the texts and make changes if needed.

Start the process by clicking "Start Voiceover".

The system will sequentially send the articles one by one to our server for text-to-speech and consecutively return the results. Do not close the tab, so that WordPress can receive the results and save the audio files.
The processing speed depends on the size of your articles. Expect around 5 minutes per blogpost.
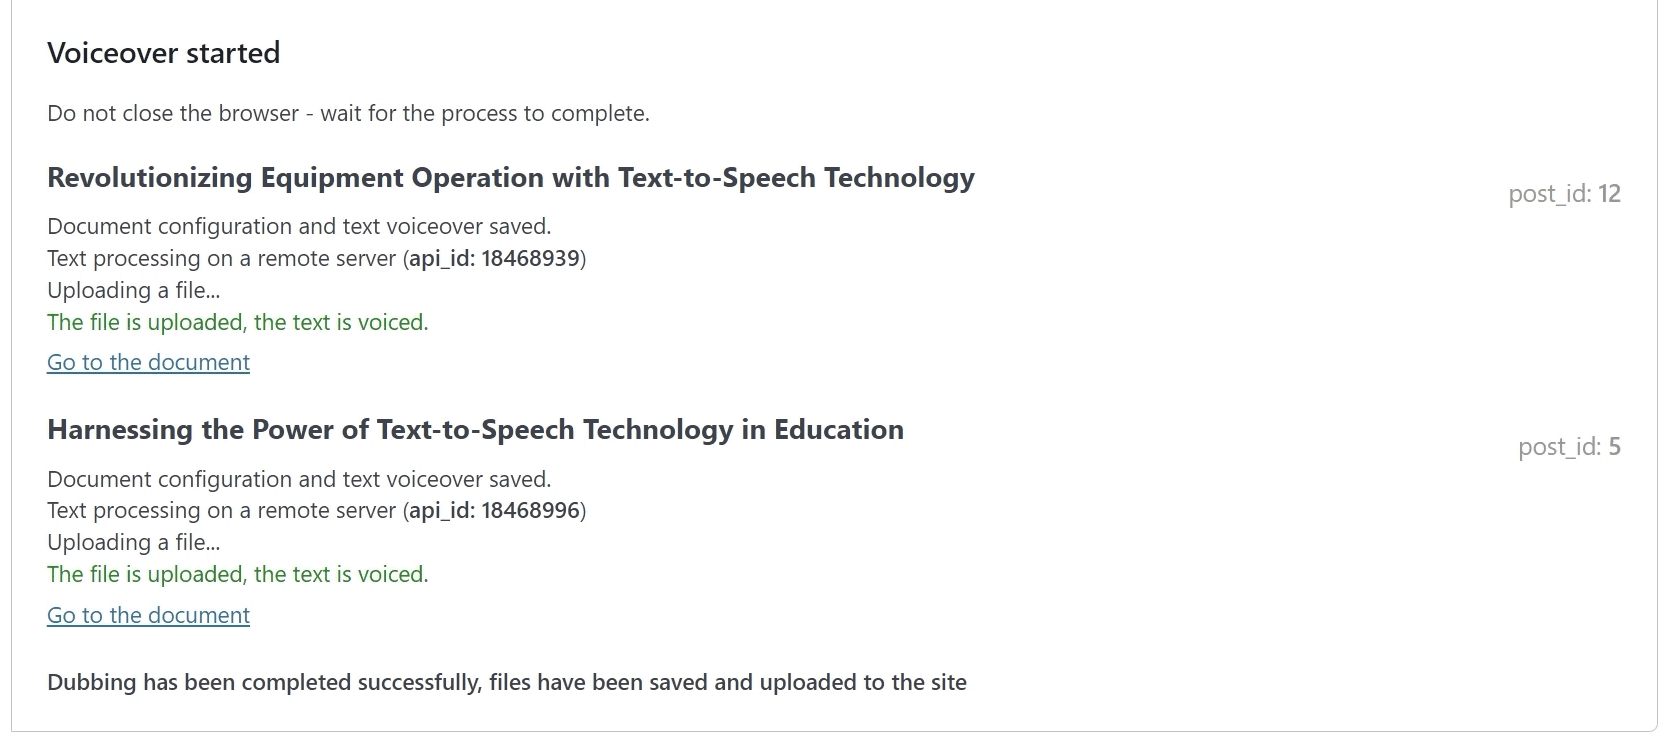
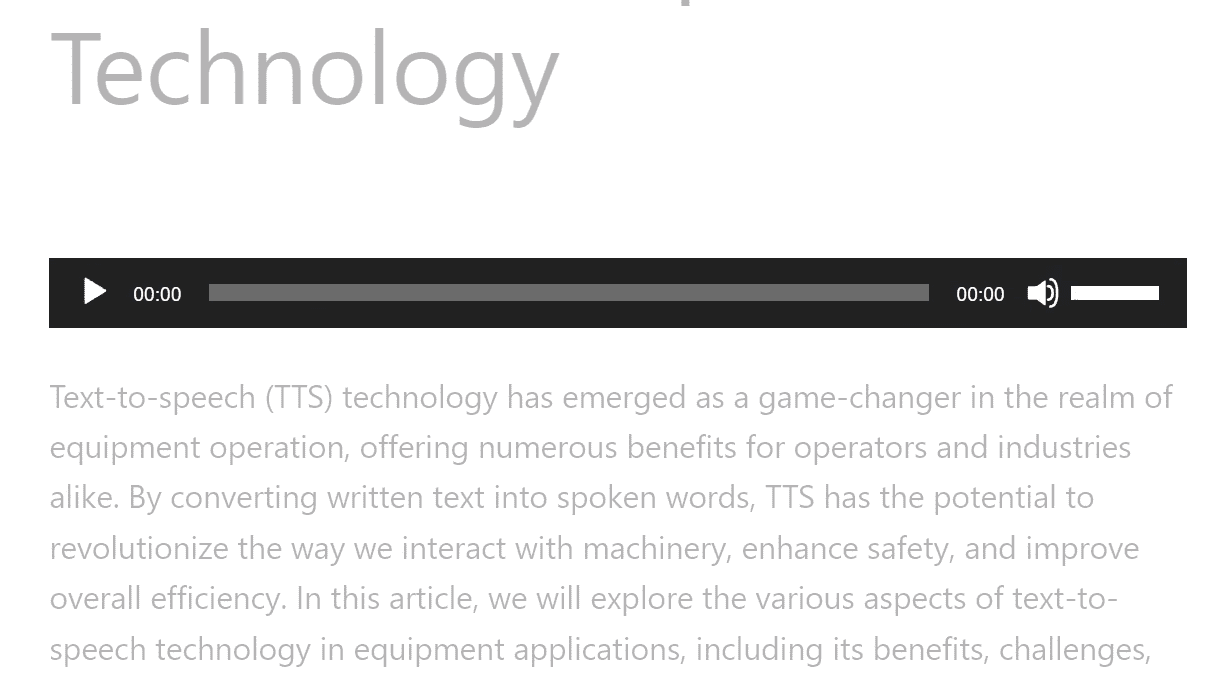
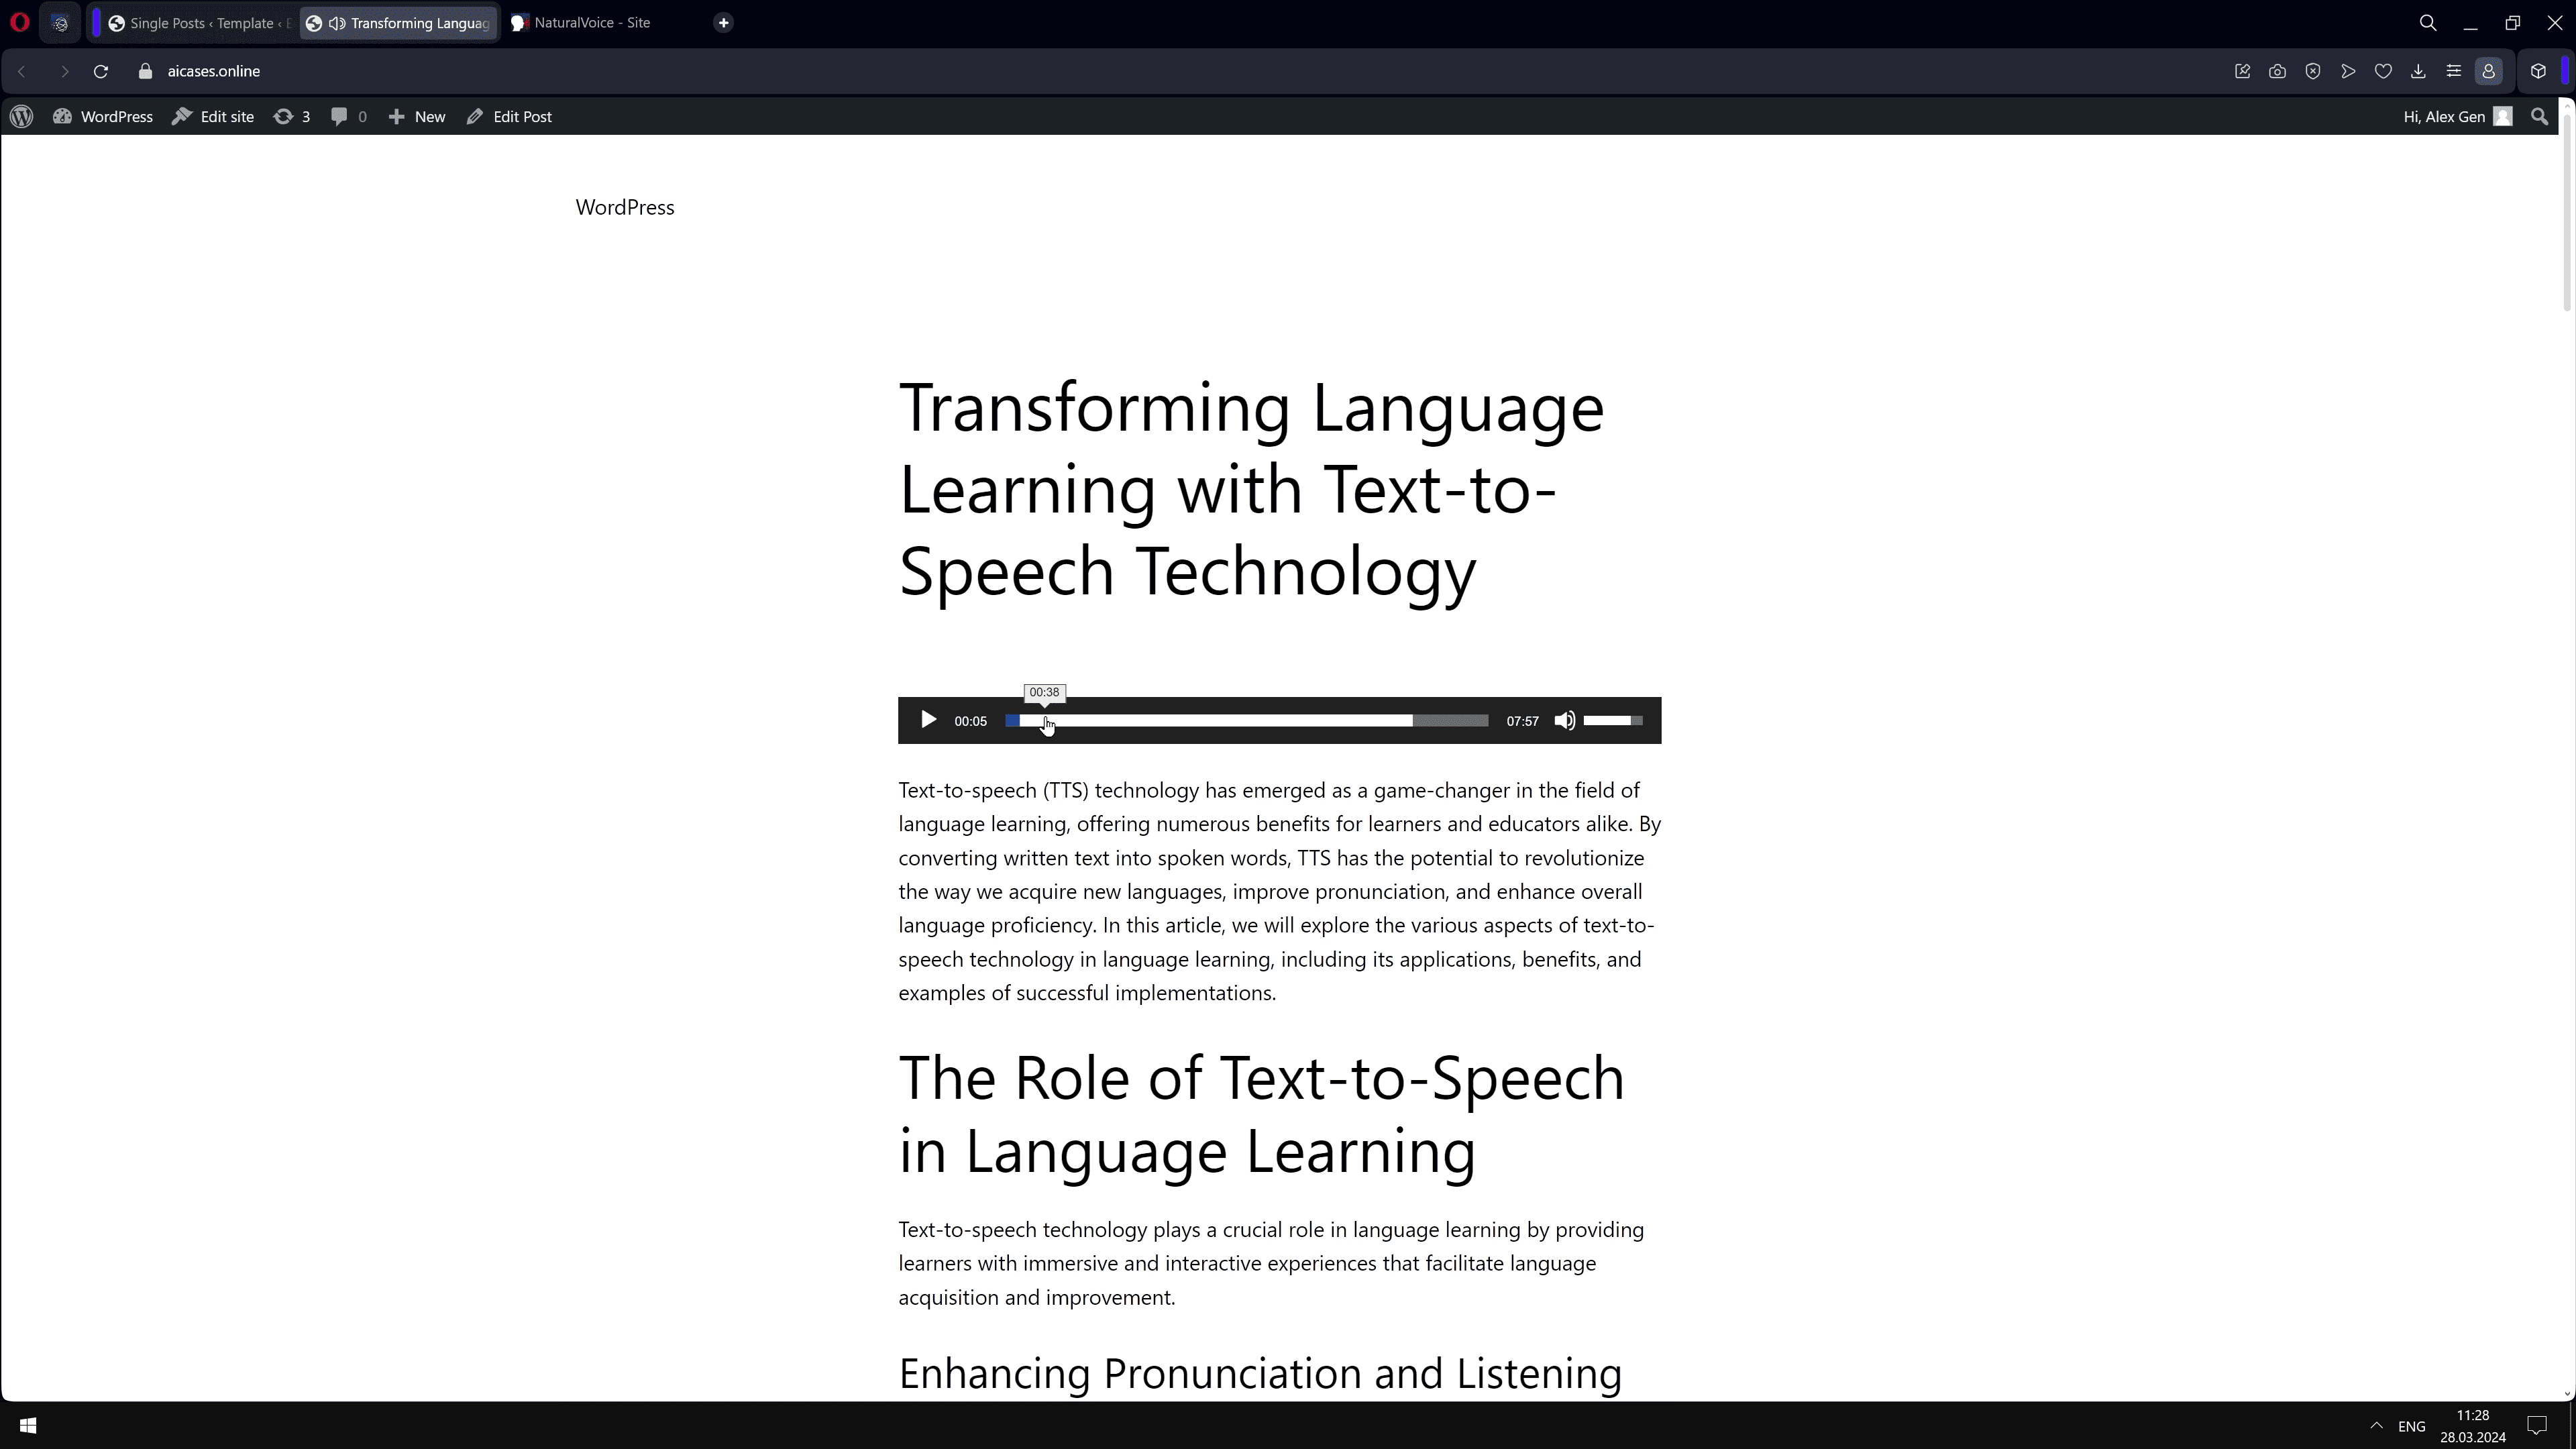
As soon as the process is completed, the article will display the text "The file is uploaded" and a "go to the document" link. Open this link in a new tab to see the result.
Below is an example of how it might look. Here, I've displayed the default WordPress player right under the title.
Deleting
If you want to remove the audio, click on "Clear" from the list of articles.
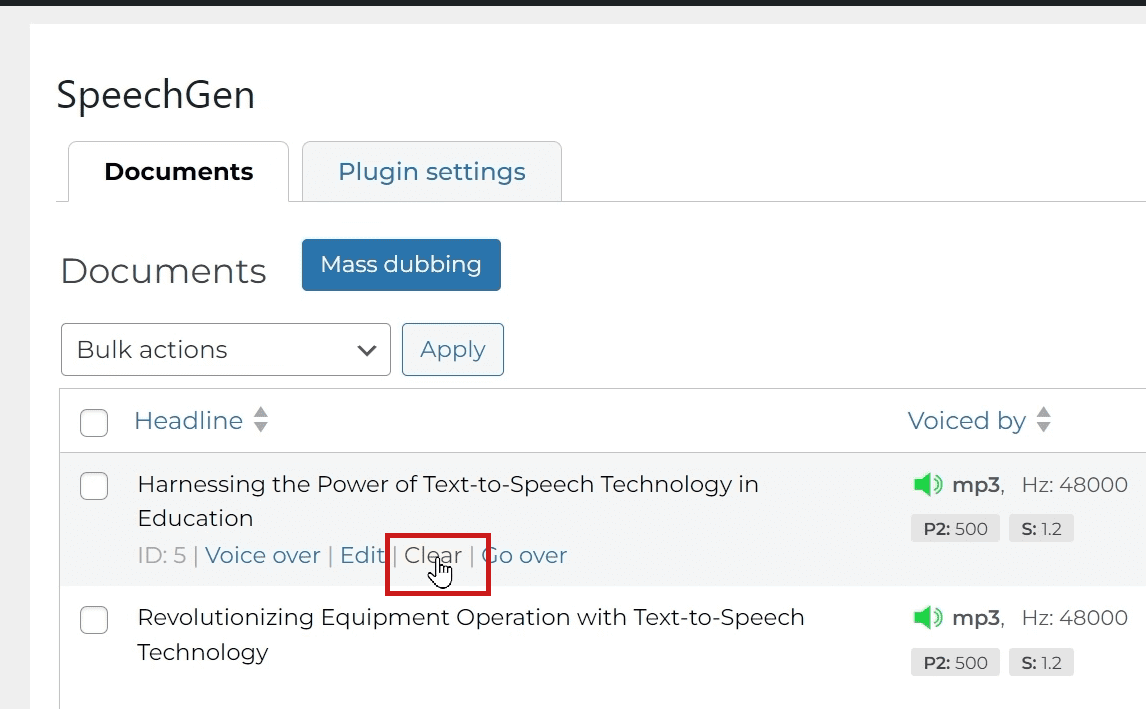
This link will also be available when editing the document.
Integration
There are three ways to integrate the player into an article: shortcode in the template, shortcode in the article text, or PHP code in the template.
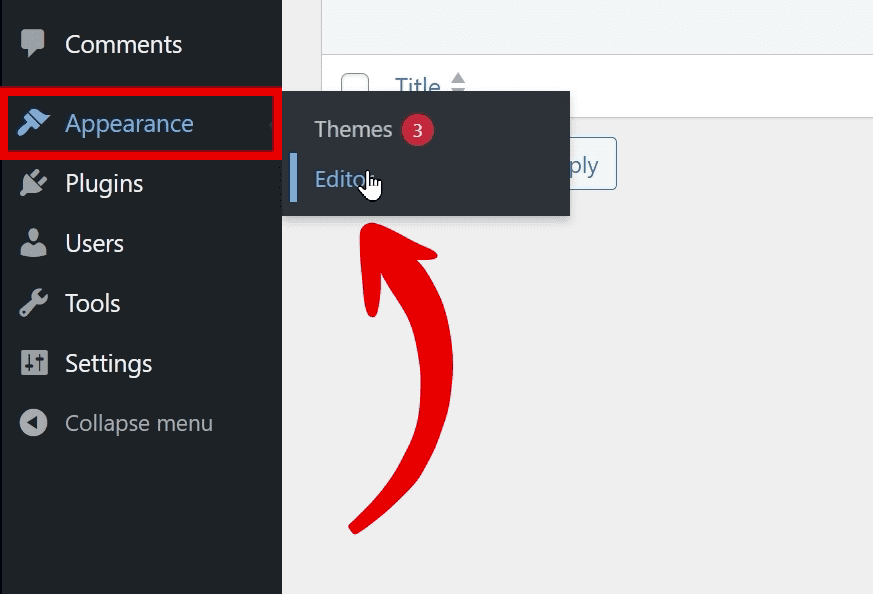
Shortcode in the template
Click on "Appearance" and then "Editor".
Select the desired template, for example, the post template, and insert the shortcode [speechgen] in the desired location. The player will automatically appear in this place for all posts that have audio ready.
If there is no audio, then of course, an empty player will not be displayed.
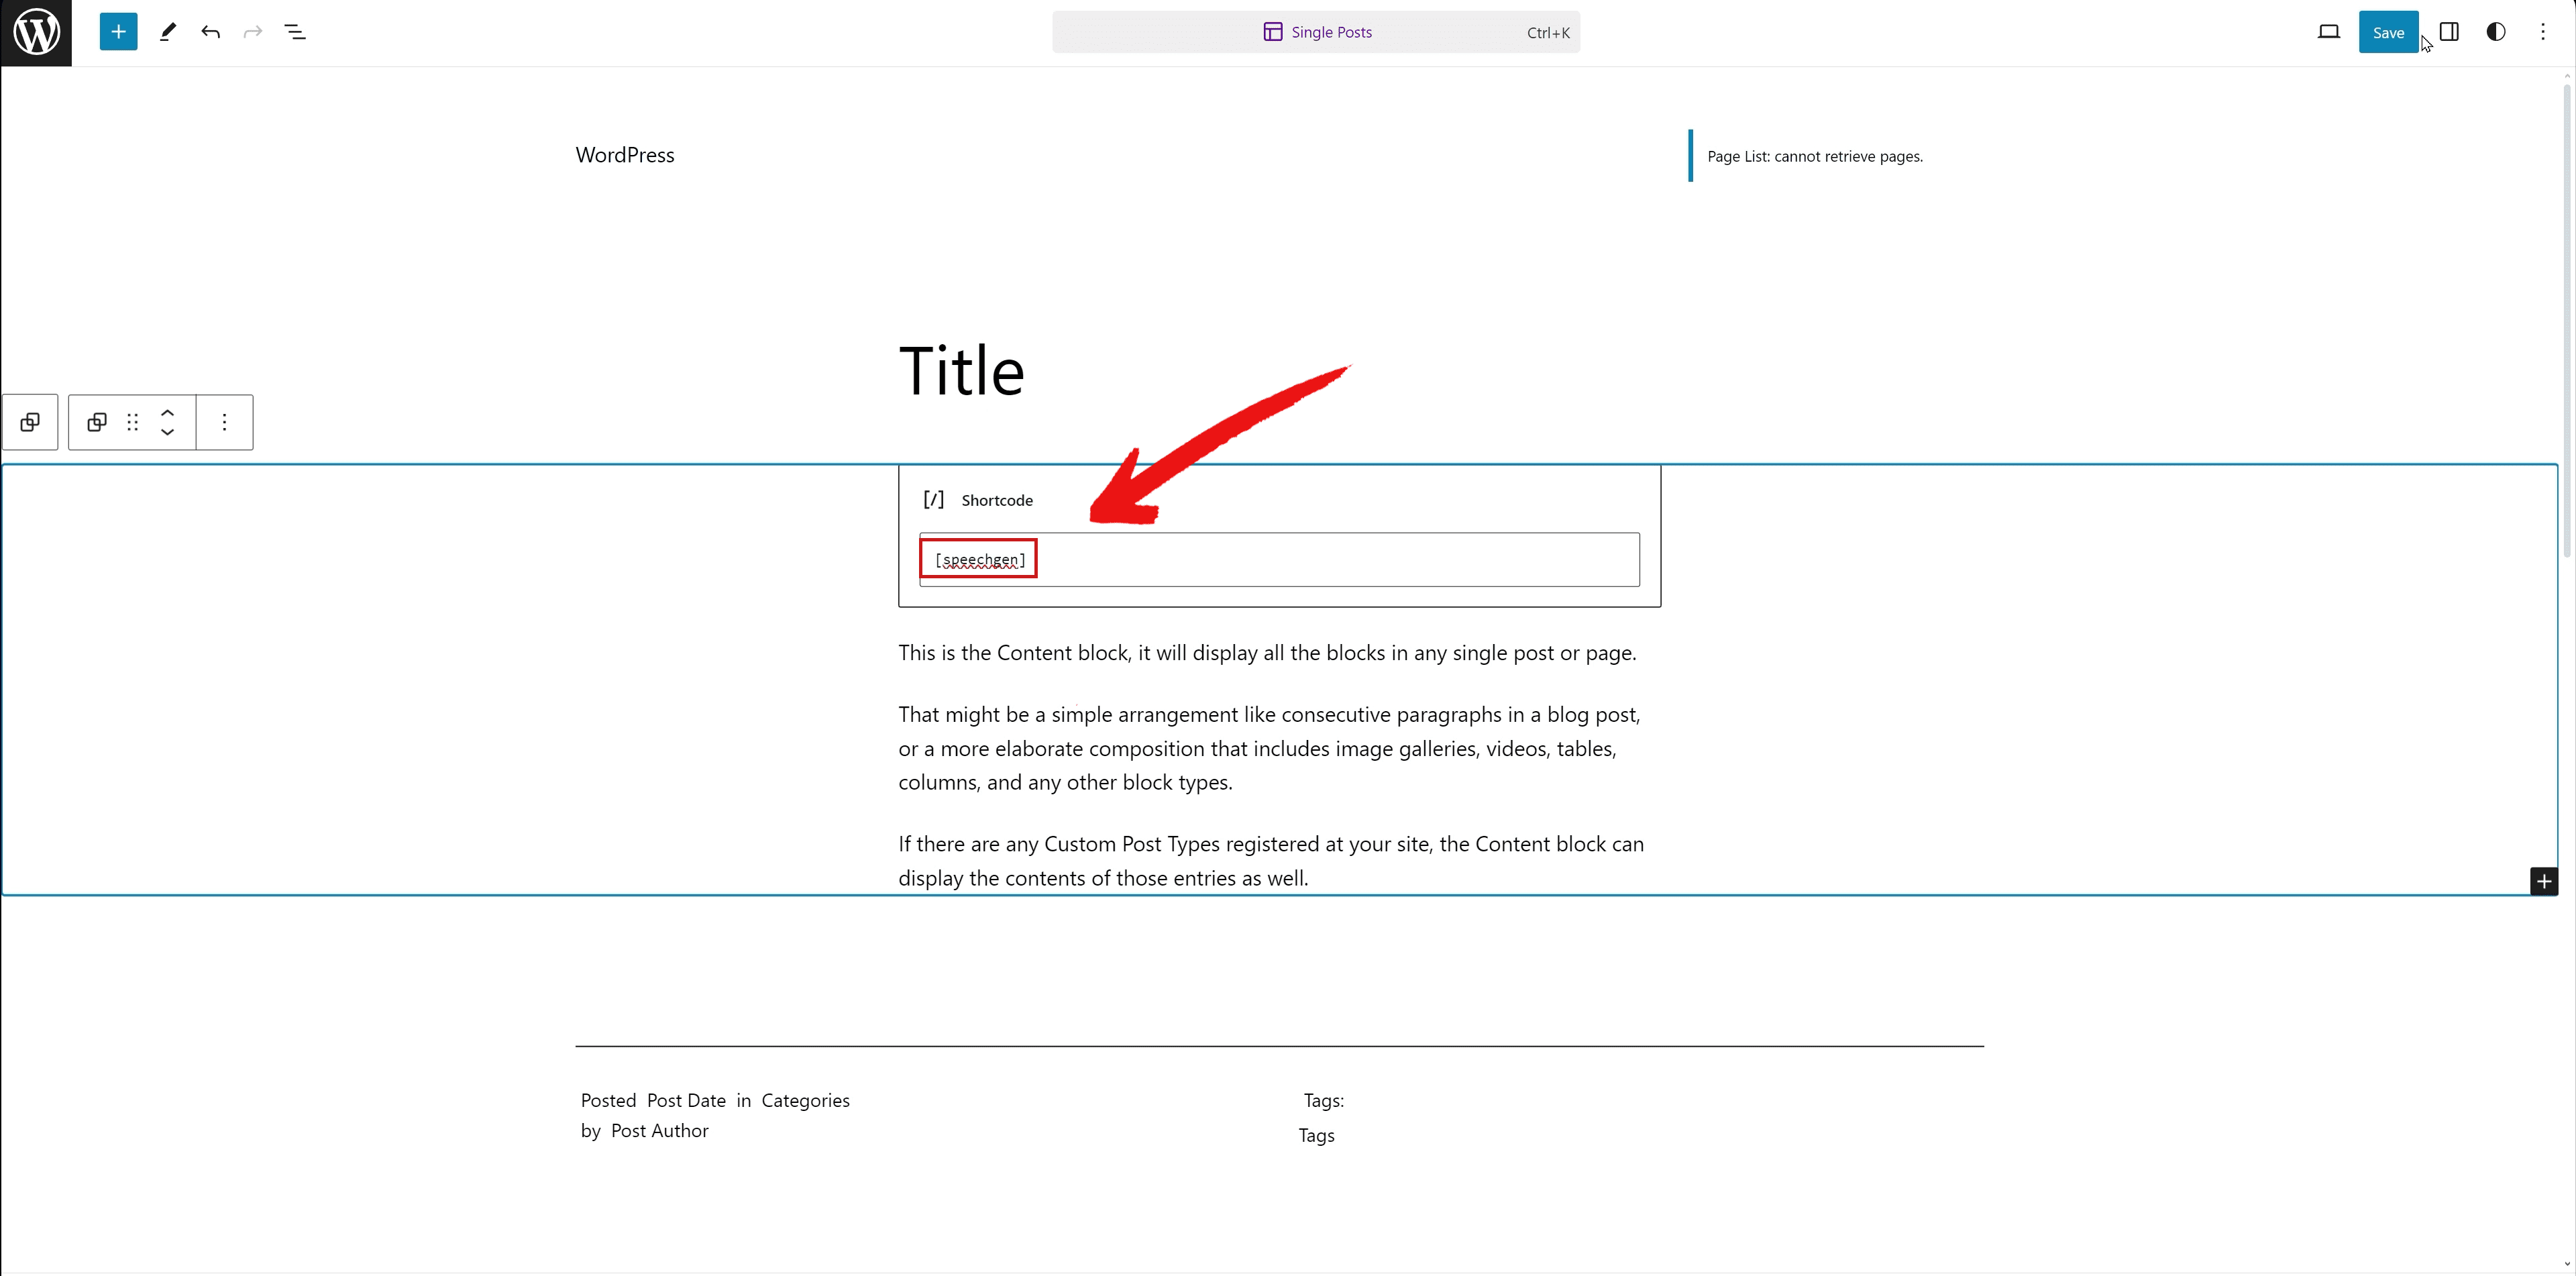
Here's how it looks in one of the posts:
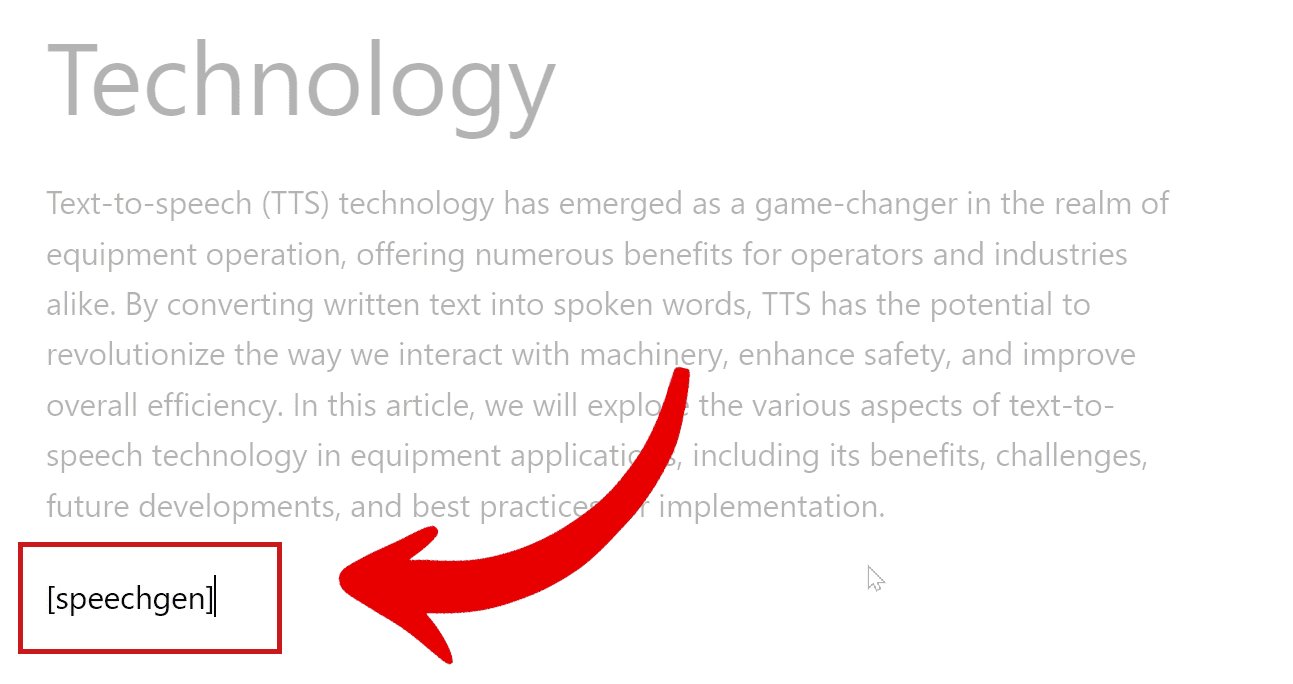
Shortcode in the article
For some, it will be convenient to insert the shortcode [speechgen] into each post in the desired location. Simply insert this code where you want to display the player when editing an article.
PHP insertion
If you have a template without a block editor and you are a coding expert, then insert this PHP code in the desired location in the template:
Support
If you have any questions about setting up and installing the plugin, feel free to message me on Telegram: @Speechgen_alex or mail me to speechgen.io@gmail.com.
I wish you increased user engagement, traffic growth, and profitability for your project!